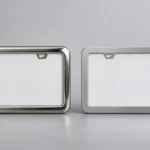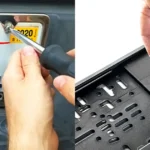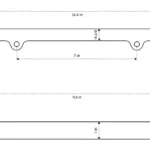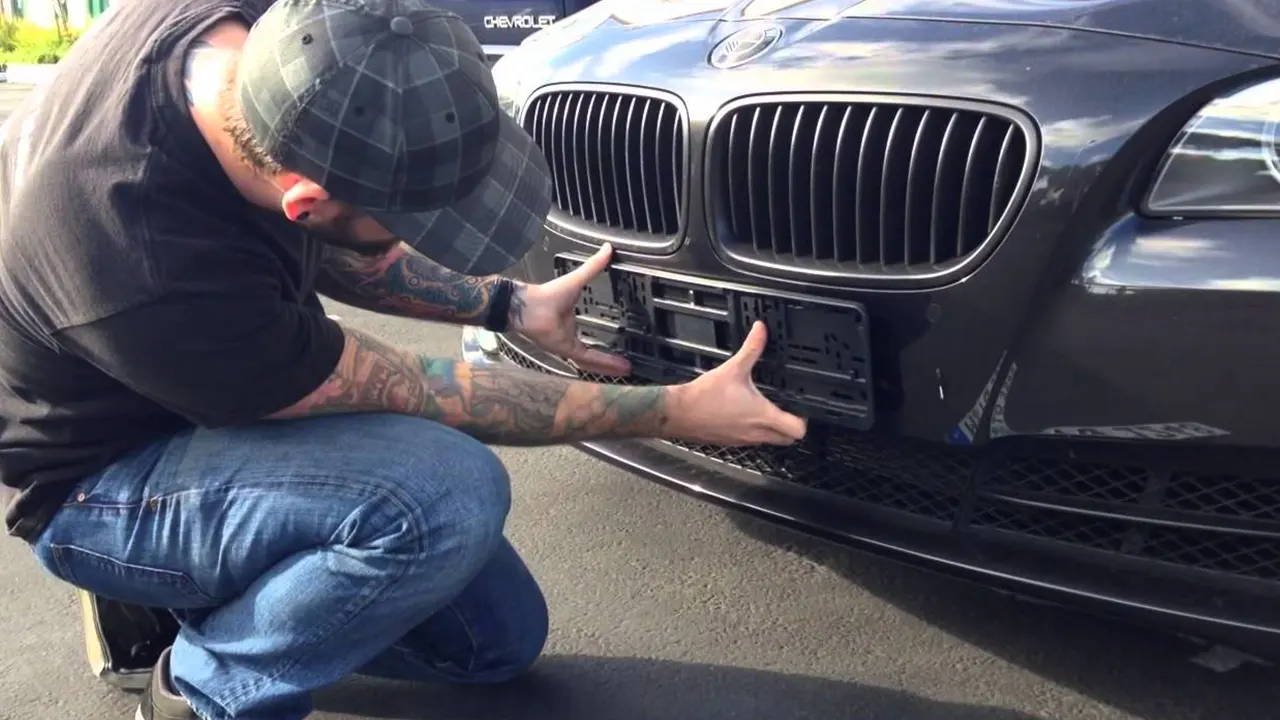
To install a European license plate frame, first identify how the holder opens, then mount its backing frame to approved vehicle mounting points, place the plate inside, and lock the retaining strip or clips. Before tightening anything, confirm the holder, plate, hole pattern, and vehicle mounting area are compatible.
European-style holders are not all built the same way. A correct installation depends more on the holder mechanism and the vehicle behind it than on the visible outer shape.
Identify the Holder Before You Remove Any Parts
| Holder Style | How It Usually Retains the Plate | What to Check |
| Locking-strip holder | A long lower or side strip snaps into the backing frame | Release notch, strip direction, and whether the strip is reusable |
| Hinged holder | A front section swings open and closes over the plate edge | Hinge location, latch points, and closing sequence |
| Individual clip holder | Multiple tabs retain the plate around the perimeter | Which tabs flex and which are structural |
| Decorative surround | Fasteners pass through the surround and plate | Hole alignment, screw length, and rear clearance |
Do not pry every visible tab. Some tabs are designed to release; others locate the plate or stiffen the frame. If the supplier’s instructions show a specific opening sequence, use it.
Check the Vehicle, Plate, and Holder Together
Dry-fit the backing frame on the vehicle before inserting the plate. Verify that it sits flat, stays inside the intended mounting area, and does not interfere with a tailgate handle, camera, lamp, parking sensor, or body crease. Then place the plate in the open holder to confirm edge engagement and visibility.
- Confirm the plate format and the holder’s clear opening.
- Compare the vehicle’s existing mounting points with the backing-frame slots.
- Check the available screw depth behind the panel or bracket.
- Verify that the fastener heads will not prevent the plate from sitting flat.
- Confirm local visibility requirements for characters, marks, and other required plate information.
A European-looking frame is not automatically compatible with every European plate or every imported vehicle. Use the license plate frame size guide to record the plate, opening, and mounting dimensions before you order hardware.
Tools and Parts
- The holder and matching retaining strip or clips
- Vehicle-compatible screws and any specified washers or adapters
- A hand screwdriver with the correct bit
- A non-marring trim tool if the locking strip needs to be opened
- A microfiber towel and finish-safe cleaner
- A level or a measured body reference for alignment
Use an adapter only when it is intended for the vehicle and holder combination. An adapter changes the stack thickness, screw engagement, and clearance behind the assembly.
How to Install a Clip-In European License Plate Holder
- Open the retaining system. Release the locking strip, hinged section, or specified clips without bending the backing frame.
- Position the empty backing frame. Align it with the vehicle’s existing approved mounting points. Check level and clearance before inserting screws.
- Start the fasteners by hand. Engage all screws a few turns. If a screw binds immediately, back it out and correct the hole alignment.
- Tighten the backing frame evenly. Follow the vehicle or bracket manufacturer’s torque instruction when one is available. The holder should sit flat without bowing.
- Insert the plate. Place one long edge into the locating channel, then seat the opposite edge according to the holder design. Do not force an oversized or bowed plate past the clips.
- Close the retaining strip or clips. Work along the holder until each latch is fully seated. A partially engaged strip may look closed but release after vibration.
- Test the installation. Pull lightly at each corner, close the tailgate or trunk, and check for movement, noise, camera obstruction, and plate coverage.
If the Vehicle Has a Different Hole Pattern
Use a compatible adapter or a backing frame with suitable mounting slots. Do not drill the vehicle body merely because the holder’s holes do not line up. Drilling may affect corrosion protection, wiring, sensors, trim, or a lease agreement. Follow the vehicle manufacturer’s approved procedure if new mounting points are genuinely required.
On a US-market vehicle fitted with a European-style plate for display or a special registration format, confirm both the legal plate requirement and the physical mounting area. The visible plate format does not tell you what lies behind the bumper or tailgate panel.
Common Installation Problems
| Problem | Likely Cause | Correction |
| Locking strip will not close | Plate edge is not seated, screw head protrudes, or plate is too thick for the holder | Open the holder, reseat the plate, and check the internal stack. |
| Holder bows after tightening | Uneven mounting surface or overtightened fasteners | Loosen, inspect the contact points, and use only approved spacers. |
| Plate rattles inside the holder | Incomplete clip engagement, excess internal clearance, or distorted holder | Check every latch and confirm the plate dimensions against the holder specification. |
| Assembly touches paint | Incorrect offset, warped backing frame, or unsupported lower edge | Correct the mounting stack before driving. |
| Camera view is blocked | Holder projection or vertical position is unsuitable | Reposition only within approved mounting provisions or select a different holder profile. |
For the general fastening sequence, see how to install and remove a license plate frame.
What Importers and Distributors Should Approve
For a retail or OEM program, send the supplier more than a plate length and width. Installation failures often begin in details that are absent from a simple product photo.
| Approval Item | Required Evidence |
| Plate compatibility | Clear opening, retention channel, corner clearance, and acceptable plate thickness range for the exact model |
| Vehicle interface | Slot positions, usable mounting range, rear stand-offs, and adapter requirements |
| Retention | Opening method, latch count, closure check, and replacement-strip availability |
| Hardware kit | Fastener specification, usable length, head profile, washers, caps, and tool requirements |
| Installed sample | Photos and checks for level, plate coverage, rattle, paint clearance, camera view, and closure operation |
| Instructions | Holder-specific opening and closing sequence plus vehicle exclusions |
The EU license plate frame page covers commercial customization options. For a new profile, print layout, or installation pack, review the intended vehicle and plate data before approving a custom license plate frame. You can also send the project requirements for review.
Frequently Asked Questions
Do European license plate frames need screws through the plate?
Many holder-style frames secure the backing frame with screws and retain the plate with a strip or clips, so screws do not pass through the plate. Decorative surrounds may use a different stack.
Can I mount a European holder on a US vehicle?
Only if the legal plate format, mounting area, hole pattern, screw depth, and vehicle clearances are compatible. An adapter may be necessary.
Can I use adhesive tape instead of screws?
Use only a mounting method approved for the holder, vehicle surface, environment, and applicable rules. A generic tape recommendation cannot account for surface preparation, temperature, water exposure, or removal risk.
Why does the retaining strip keep opening?
The plate may not be fully seated, the backing frame may be bowed, or one or more latches may be damaged or only partly engaged. Open the holder and inspect the entire retention path.
Should I drill new holes in the bumper?
Not without a vehicle-approved procedure. First look for compatible slots, an adapter, or a different holder. Blind drilling can damage components behind the panel.