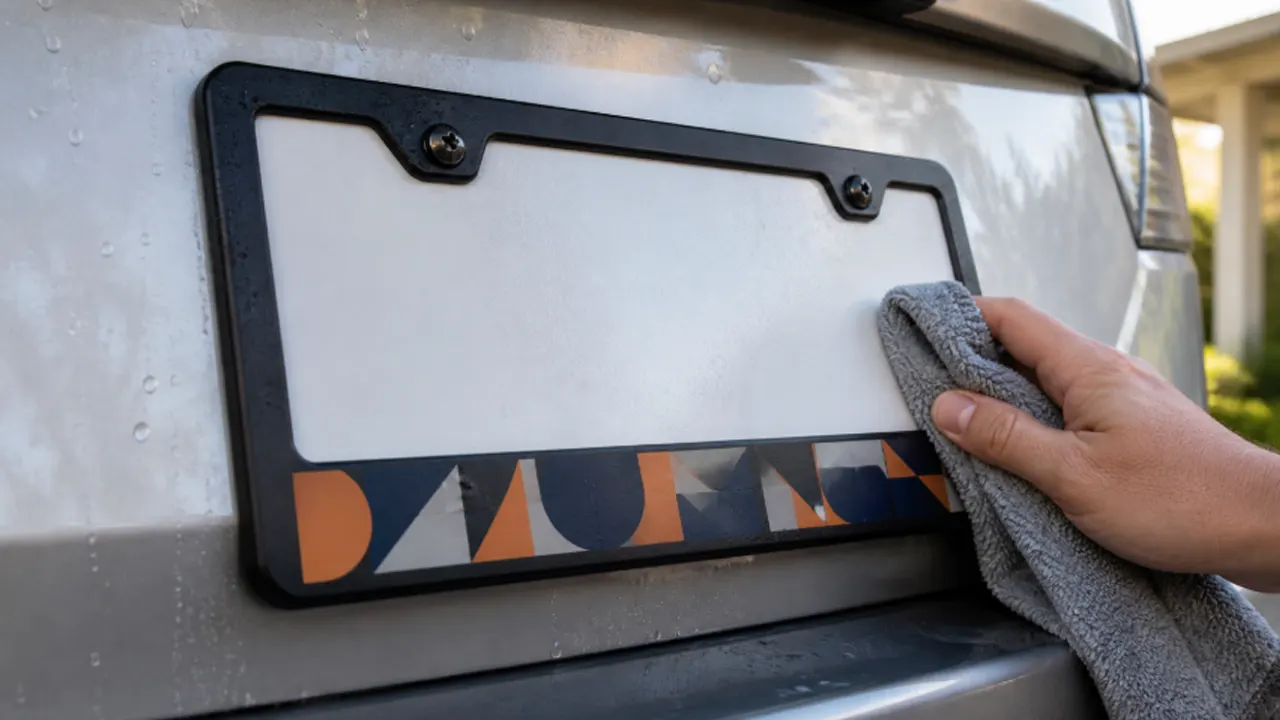
Cleaning cannot reverse a finish that has already faded. It can, however, remove contamination without adding scratches or chemical damage. To slow future fading, use finish-compatible washing, avoid unnecessary abrasion and harsh chemicals, limit intense exposure where practical, and select products using documented material and finish testing instead of a vague fade-resistant claim.
The frame substrate, coating, print process, pigments, clear layer, environment, and maintenance method all affect appearance. One care rule does not fit every finish.
What Fading Actually Looks Like
Not every dull frame is faded. Road film, mineral deposits, wax residue, oxidation, fine scratches, and genuine color change can create similar symptoms. Clean a small inconspicuous area with the approved method before deciding that the finish has lost color.
| Appearance | Possible Cause | Safe First Check |
| Uniform gray or dull film | Road residue or cleaner buildup | Wash a small area with mild, finish-compatible soap and water. |
| White spots or rings | Mineral deposits or dried wash water | Check the product care instructions before using any deposit remover. |
| Fine haze under direct light | Micro-scratches from abrasive wiping | Stop dry wiping and examine the surface after a gentle wash. |
| Color is weaker on the sun-facing edge | Light and weather exposure | Compare protected and exposed areas after cleaning. |
| Print cracks, lifts, or flakes | Finish-system failure or damage | Do not scrub; document the condition and check warranty or replacement options. |
A Finish-Safe Cleaning Routine
- Let the surface cool. Do not wash a hot frame in direct sun. Fast drying can leave deposits and reduce working time.
- Rinse away loose dirt. Use low-pressure water where appropriate. Avoid driving debris into gaps behind the plate.
- Use a compatible cleaner. Start with water and a mild automotive wash product unless the frame manufacturer specifies another method.
- Wipe with a clean soft tool. Use light pressure and turn the towel frequently so collected grit is not dragged across the finish.
- Clean edges and fastener recesses carefully. A soft detailing brush can reach tight areas, but it must be clean and suitable for the finish.
- Rinse completely. Remove soap from lettering, corners, and the lower edge.
- Dry gently. Blot or use a clean microfiber towel rather than rubbing a contaminated surface.
- Inspect the rear periodically. If removal is safe, clean trapped dirt and check for paint contact, corrosion, loose hardware, and drainage problems.
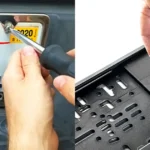
For safe removal and reinstallation, follow the license plate frame installation and removal guide.
Products and Methods to Avoid Unless Approved
- Dry wiping a dusty frame
- Abrasive pads, scouring powders, or stiff dirty brushes
- Strong solvents, fuel, or adhesive removers used without finish approval
- Highly alkaline or acidic cleaners left on the surface
- Pressure-washer nozzles held close to printed edges, decals, or damaged coatings
- Polish or compound applied to printed graphics without a compatible repair procedure
- Universal protectants that promise permanent UV protection without compatibility data
A chemical that is safe for bare metal may damage a printed, painted, plated, coated, or plastic surface. When the finish is unknown, start with the least aggressive method and test a hidden area.
How to Slow License Plate Frame Fading
Reduce Unnecessary Exposure
Covered parking and shade can reduce direct exposure when they are practical, but a vehicle accessory still needs to tolerate its intended outdoor environment. Storage advice is not a substitute for a suitable material and finish system.
Keep Contamination From Becoming an Abrasive Layer
Salt, dust, and road film should not remain indefinitely. Wash gently before rubbing. Aggressive cleaning after long neglect can add more visible damage than a regular low-abrasion routine.
Use Care Products That Match the Finish
Follow the frame or finish supplier’s instructions. If a coating, wax, or sealant is proposed, ask whether it was evaluated on the exact print or coating. Compatibility includes adhesion, gloss, color, cracking, and removal, not just whether the product can be applied.
Replace Damaged Retention and Hardware
Loose fasteners allow movement. Damaged caps and lifted print edges collect dirt and water. Correct the mechanical problem instead of scrubbing the symptom.
How to Evaluate a Fade-Resistance Claim
An accelerated UV test can compare specimens under controlled conditions. It does not automatically predict an exact number of outdoor years. A meaningful report identifies the test method, lamp or exposure source, cycle conditions, duration, specimen construction, and the way color or appearance was evaluated.
| Ask the Supplier For | Why It Matters |
| Exact sample construction | The same substrate, base coat, ink, top layer, and curing process should represent production. |
| Named test method and version | A statement such as UV tested is incomplete without the procedure. |
| Exposure conditions | Lamp type, irradiance, temperature, moisture cycle, and duration affect the comparison. |
| Evaluation method | Color difference, gloss, cracking, adhesion, and visual grading measure different failures. |
| Control specimen | A retained or unexposed comparison helps distinguish real change from viewing variation. |
| Acceptance criterion | Buyer and supplier should agree what change is acceptable before testing. |
Print and Finish Selection for Volume Orders
Durability decisions should be tied to the artwork, exposure, order channel, and expected appearance. Fine gradients, solid spot colors, metallic effects, and edge-to-edge graphics may use different production routes and fail in different ways.
Compare UV-printed license plate frames with silk-screen license plate frames using approved production samples and a written evaluation plan. Do not convert laboratory exposure hours into a warranty period without a validated correlation for the exact product and use environment.
For a dealer, brand, or retail program, retain a signed color sample, define viewing conditions, identify critical colors and logo areas, and inspect multiple production pieces. If outdoor appearance is a key requirement, include it in the request when you submit a custom license plate frame project.
When to Replace the Frame
Consider replacement when the frame is cracked, warped, loose, contacting the vehicle, obscuring required plate information, or shedding finish. Cosmetic fading alone may not affect retention, but a failing surface can continue to deteriorate and may no longer meet a brand program’s appearance standard.
Frequently Asked Questions
Can I restore a faded license plate frame with polish?
Polish may remove surface contamination or alter gloss, but it cannot restore pigments or coatings that have permanently changed. It may also damage print. Use it only when the finish supplier approves a specific process.
Does a clear coat prevent all fading?
No. Performance depends on the complete system, including the substrate, colorants, coating, curing, thickness, adhesion, and exposure. A clear layer is not proof of indefinite color stability.
Are UV-printed frames fade-proof?
No print method should be described as fade-proof without defined conditions and evidence. Ask for test details that match the exact production construction.
Can I use household cleaner on the frame?
Only if its compatibility with the finish is known. Start with a mild automotive wash method and follow the frame manufacturer’s care instructions.
How often should I clean the frame?
Base the interval on exposure. Clean sooner after salt, sand, mud, insects, or chemical contamination, and avoid letting visible buildup harden on the surface.
Technical Sources
- ISO 4892-3:2024 – official scope for fluorescent UV lamp exposure methods for plastics.
- ASTM G154-23 – official practice for fluorescent UV and condensation exposure; reported results must include the operating conditions and should not be treated as a direct service-life prediction.