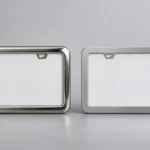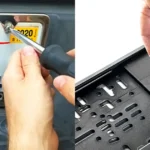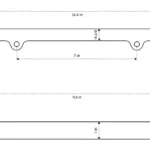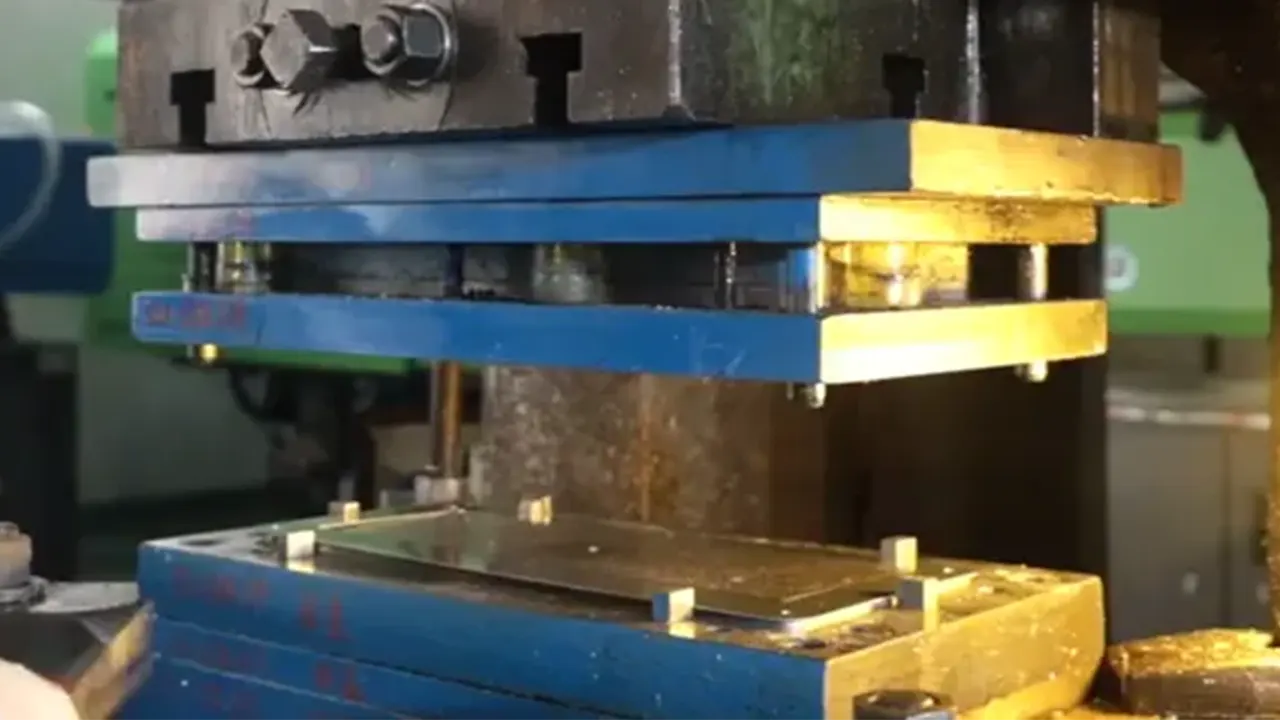
A stamped metal license plate frame starts as sheet, coil, or a prepared blank. A press drives matched tooling through a planned sequence that cuts the outside profile, pierces the opening and mounting holes, and forms any flange, bead, recess, or logo panel. The part still needs edge control, cleaning, finishing, and inspection before it is ready to pack.
That sequence isn’t identical for every frame. Material, thickness, corner shape, formed depth, annual volume, finish, and cosmetic standard determine the die concept and the order of operations.
What stamping changes in the metal
Cutting operations separate material. Blanking creates the useful outside profile, while piercing removes material for the center opening, holes, or slots. Forming operations reshape the remaining metal without intentionally removing it. A frame may be bent, flanged, coined, embossed, or drawn to create stiffness and a finished front face.
| Operation | What it creates | Buyer concern |
|---|---|---|
| Blanking | Outside frame or intermediate blank | Edge profile, corners, material yield, burr direction |
| Piercing | Plate opening, screw holes, and slots | Opening visibility, hole location, cut-edge quality |
| Forming | Raised rim, flange, recess, return edge, or contour | Flatness, springback, plate clearance, finish stretch |
| Coining or embossing | Local detail, stiffening feature, or branding area | Detail definition, thinning, marks on the opposite face |
| Trimming and cutoff | Final edge or separation from a carrier strip | Final dimensions, tabs, sharp edges, distortion |
The production route is chosen before the die is built
Lower-volume or early-stage programs may use separate blanking, piercing, and forming tools. Higher repeat volumes can justify a compound or progressive die. In a progressive tool, a metal strip advances through several stations while remaining attached to a carrier until the final cutoff. Each press stroke completes a different portion of the work at each station.
A progressive die can reduce handling and keep related features under one controlled strip layout, but it needs more committed tooling. The carrier, feed pitch, pilot locations, scrap removal, press capacity, and formed-part clearance all have to work together. A simple frame is not automatically a simple die.
A typical frame-stamping sequence
- Freeze the drawing. Define the plate opening, outer envelope, hole centers, slot limits, border widths, local radii, formed sections, datums, and cosmetic faces.
- Select controlled stock. Specify the exact metal, grade or alloy, temper, thickness range, surface condition, and direction where it affects forming. “Metal” or “stainless” is not enough for tooling approval.
- Plan the blank and strip. The tool designer establishes nesting, carrier position, pilots, cutting sequence, forming stations, and cutoff. Material yield must be balanced against a stable manufacturing path.
- Blank and pierce. Punch-and-die clearances are set for the selected stock. The operation leaves a cut-edge profile and burr direction that should be identified on the drawing.
- Form the profile. Flanges, beads, offsets, and decorative features are created in one or more stages. Multiple forming steps may be needed to control splitting, wrinkling, or distortion.
- Release and finish the edge. Parts are separated, then deburred or edge-finished as required. The method must protect dimensional and cosmetic surfaces.
- Clean and apply the specified finish. Polishing, brushing, coating, plating, painting, printing, or engraving is selected for the exact material and design. Process order matters because later forming can mark or stretch a finish.
- Inspect and pack. Check critical dimensions, flatness, opening and holes, formed profile, burr condition, surface appearance, and packaging protection against the approved sample and drawing.
Where stamped frames usually go wrong
The opening is dimensionally correct but poorly located. A shifted opening can create unequal borders or cover information on the plate. Control its position from functional datums, not only its width and height.
The frame rocks after forming. Springback, uneven forming load, or a weak section can leave the part twisted. Measure flatness in a defined free state and again on the intended plate or fixture.
Burrs face the wrong side. A burr near the plate, paint, or installer’s hand has a different consequence from one on a protected edge. Put permitted burr direction and edge treatment on the drawing.
Mounting tabs bend during tightening. The fastener stack may bridge an unsupported area. Check the tab geometry with the actual plate, washers, spacers, and vehicle bracket rather than judging the loose frame alone.
The finish exposes forming variation. A polished or plated surface can make waviness and tool marks more visible. Approve surface limits under agreed lighting, and use packaging that keeps show faces apart.
What to approve before production
Your approval package should connect the process to the product. Ask for a controlled material specification, revision-level drawing, tool concept, burr and edge requirement, cosmetic standard, finish sample, inspection method, and packaging sample. If a branded panel is part of the frame, include artwork size, position, color reference, and the decoration process.
The frame thickness guide helps define local sections and the installed stack. Use the brushed versus polished stainless steel comparison when surface appearance is still open. For other metal and finish combinations, start with the custom license plate frame page.
Inspection points that deserve their own callout
- material identity and thickness at the agreed measurement points;
- outer dimensions, clear opening, border width, and hole centers;
- flatness, twist, formed height, and plate seating;
- cut-edge condition, burr direction, cracks, and sharp corners;
- finish uniformity, tool marks, scratches, and logo position;
- installed fit with the intended plate and hardware stack;
- unit packaging that prevents face-to-face abrasion.
Don’t assign the tightest tolerance to every dimension. Mark the features that control plate visibility, installation, and appearance, then define an inspection method capable of checking them.
Frequently asked questions
Are all metal license plate frames stamped?
No. Metal frames can also be cast, machined, cut, formed from extrusions, or assembled from several pieces. Identify the actual construction before comparing suppliers.
Is progressive stamping always the lowest-cost option?
No. It can be efficient at repeat volume, but the tool is more committed and expensive than a simple staged route. Compare tooling, material yield, secondary operations, forecast volume, and change risk together.
When are mounting holes made?
They are commonly pierced during stamping, but the exact station depends on how later forming affects location and access. The final hole relationship should be inspected after all operations that can move it.
Can a finished sheet be stamped without damage?
Sometimes, with a finish and protection system designed for the operation. Forming can stretch, mark, crack, or contaminate a prefinished surface, so test the real stock and process before approval.