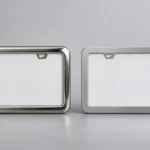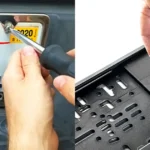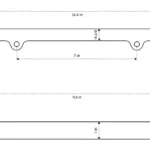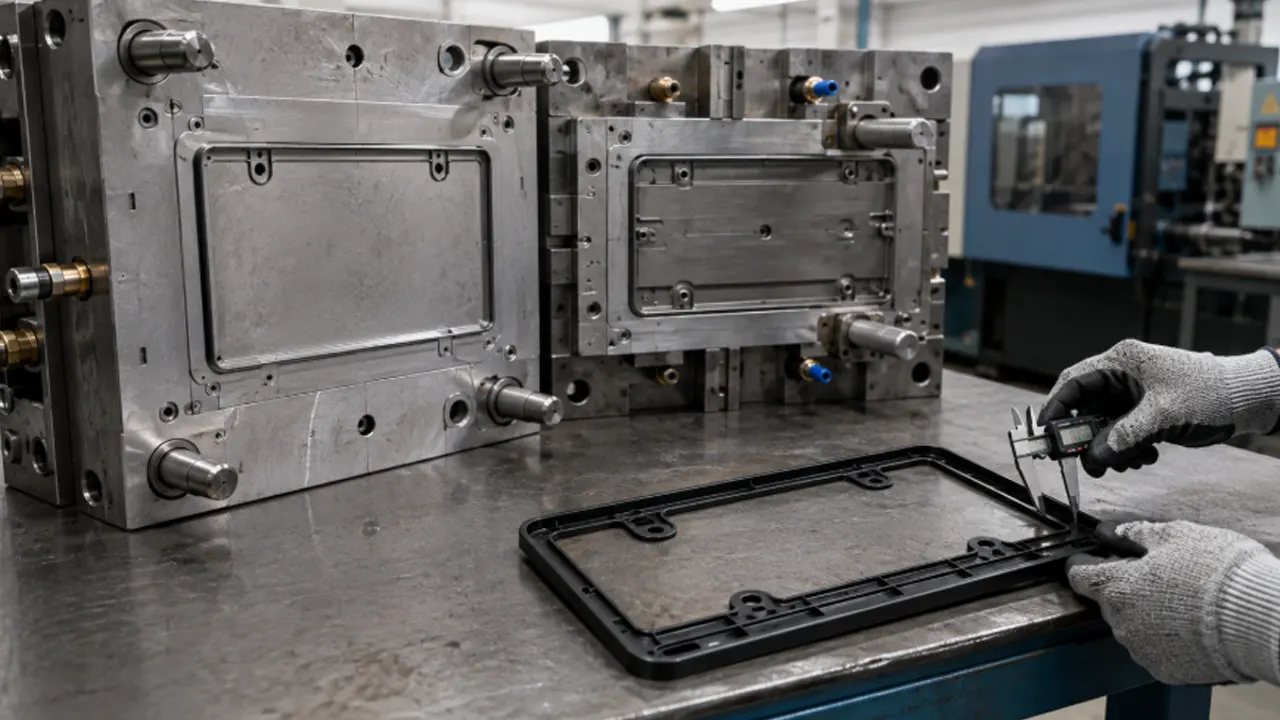
A reliable injection-molded license plate frame begins with the plate and vehicle interface—not with a tooling quotation. Before steel is cut, you need to lock the target market, visible plate opening, mounting pattern, fastening method, material, decoration, assembly, and acceptance tests.This article concerns production injection molds for rigid plastic license plate frames and holders. It does not cover silicone or resin craft molds used to cast decorative parts.
Freeze the product inputs before mold design
A supplier cannot solve missing product requirements by adjusting the mold later without cost or compromise. Give every quoting source the same controlled input package.
| Design input | Evidence you should provide | Why it changes the mold |
| Target market and plate | Controlled plate drawing, physical sample, and applicable vehicle examples | Sets the visible opening, outer envelope, hole positions, and interference limits |
| Frame or holder architecture | Section drawing, mounting concept, backing plate, clips, and hardware | Determines part depth, undercuts, ejection, and assembly features |
| Plastic material | Specified resin family, color, appearance, and required performance | Affects shrinkage assumptions, wall design, flow, cooling, draft, and texture reproduction |
| Branding and finish | Logo method, artwork, texture, gloss target, and decoration area | Controls cavity detail, flatness, polishing, text draft, and post-mold fixtures |
| Assembly | Screws, caps, inserts, brackets, plate contact points, and installation sequence | Changes bosses, clips, holes, tolerances, and load paths |
| Production plan | Order pattern, forecast, target machine constraints, packaging, and inspection plan | Influences cavity count, runner concept, automation, cooling, and maintenance strategy |
If you sell into more than one region, do not scale one drawing by eye. Use controlled regional plate data and the US versus European license plate frame size comparison to identify where separate products may be necessary.
Design the frame around its real function
A thin perimeter frame, a full backing holder, and a two-piece frame with a removable trim are different products. Decide which one you are building before the mold concept is approved.Check at least these interfaces:
- the plate must seat without forced bending;
- mounting holes and hardware need usable clearance;
- the frame must not cover information that needs to remain visible;
- tabs and clips must retain the plate without creating concentrated stress;
- the rear surface should not create avoidable contact or rattle points; and
- the installed assembly must clear the vehicle recess, camera, lamps, and nearby trim for the target applications.
Test the assembly with the intended plate and hardware. A frame that looks correct as an isolated CAD model can still interfere with a screw head, recess wall, or plate edge.
Use walls, ribs, radii, and draft as one system
License plate frames combine long rails, corners, mounting areas, and branding zones. Abrupt thickness changes can cool unevenly and increase the risk of sink, distortion, or visible read-through. Keeping nominal walls reasonably consistent is usually a stronger starting point than adding heavy material wherever stiffness appears insufficient.Ribs can add stiffness without turning the whole section into a thick mass, but rib dimensions and spacing must suit the resin, wall, flow direction, and appearance requirements. A commonly cited injection-molding starting range puts rib thickness below the adjacent wall thickness; it is not a universal acceptance rule. Your molder should justify the final geometry through DFM, simulation where appropriate, and trials.Use radii to reduce sharp stress concentrations and improve flow. Add adequate draft on surfaces that move against the mold during ejection. Texture generally needs more draft than a polished surface. Deep lettering, grained sidewalls, and snap features deserve explicit draft review rather than relying on a generic angle.
Control the parting line and undercuts early
The parting line affects appearance, flash risk, trimming, and how the tool opens. Ask the tool designer to show it on the product rendering before approval, especially around corners and visible outer edges.A straight-pull tool is usually simpler to build and maintain than a design requiring sliders or lifters. Undercuts may still be justified for snap tabs, hidden retention features, or a specific assembly method, but they should be intentional.For every undercut, ask:
- What function does it provide?
- Can the same function be achieved with a straight-pull feature?
- What witness line or cosmetic effect will the side action leave?
- How will the moving component be lubricated, inspected, and replaced?
- What happens if wear changes the clip dimension?
Do not remove a useful retention feature only to simplify the mold. Instead, compare the product benefit with the added tooling, cycle, maintenance, and dimensional risk.
Gate location can decide where defects appear
A license plate frame is a long, relatively narrow flow path. Melt may divide around the opening and meet elsewhere, creating weld lines. Gate type and location influence filling balance, pressure, orientation, gate vestige, and where those meeting fronts occur.Review the gate plan together with the cosmetic drawing. A gate or weld line that is acceptable on a hidden rear rib may be unacceptable through a printed logo area or glossy front rail. The design team should also account for vents at likely end-of-fill regions; trapped gas can create burns, short shots, or weak joins.Flow analysis can help compare gate concepts, but it is only as useful as its material and process assumptions. Record the resin data, mold temperature, melt temperature, fill profile, and other key assumptions instead of accepting a screenshot without context.
Ejection and cooling protect flatness
Ejector force must be spread across surfaces that can carry it without whitening, distortion, or visible pin marks. Put ejector marks on controlled non-cosmetic areas where possible, and make sure the part releases consistently from the intended mold half.Cooling deserves equal attention. Uneven cooling around thick bosses, corners, logo pads, or hot runner drops can pull a long frame out of plane. The trial report should record actual process settings and measure the part after a defined conditioning period, not only while it is still warm.Flatness by itself is not enough. Install the molded frame with production-intent hardware and check whether tightening creates twist, gap, clip release, or stress whitening.
Design decoration into the molded part
Post-mold decoration needs a stable surface and reliable location. If the frame will be printed, provide a sufficiently flat and accessible print zone. If it will be laser marked, prove that the selected resin and color produce the desired result. Raised or recessed molded branding needs draft, clean radii, and an agreed texture or polish.Common decoration routes include:
- molded-in raised or recessed lettering;
- UV or screen printing on a defined pad;
- laser marking on a compatible resin;
- a separately molded or metal badge; and
- an insert or trim component assembled after molding.
Late logo changes can be expensive when the brand is cut directly into the cavity. If frequent customer-specific artwork is expected, a neutral molded platform plus post-mold decoration may be more flexible. Review the options in the custom license plate frame program before finalizing the tool.
Approve the mold in controlled stages
- Requirements freeze: approve the product specification, controlled drawings, resin, finish, artwork method, hardware, packaging, and tests.
- Product DFM: review walls, ribs, bosses, clips, draft, radii, tolerances, and likely cosmetic risks.
- Mold concept: approve parting line, cavity count, steel-safe areas, gates, runners, vents, cooling, ejection, and side actions.
- Analysis: review fill, pack, cooling, and warpage work when complexity or risk justifies it, including the assumptions used.
- Tool build: manage controlled design revisions and record any deviation from the approved concept.
- Trial samples: inspect parts made from the intended resin under recorded process conditions.
- Correction and validation: close dimensional, functional, cosmetic, and process issues with evidence.
- Release: sign a production-equivalent master sample and the final controlled drawing.
The broader license plate frame manufacturing overview explains how molding fits with decoration, assembly, inspection, and packaging.
Build a mold-trial acceptance sheet
| Category | What to evaluate | Useful evidence |
| Fit | Plate seating, hole alignment, recess clearance, and hardware access | Installed samples using the controlled plate and hardware |
| Dimensions | Critical interfaces, opening, hole position, clip dimensions, and agreed flatness | Dimensional report tied to drawing callouts and conditioning time |
| Appearance | Sink, flow marks, weld lines, flash, gate vestige, ejector marks, gloss, and texture | Limit samples and inspection under agreed lighting |
| Assembly | Clip retention, screw tightening, insert installation, and repeated assembly where relevant | Functional test record and failed-part photographs |
| Process | Stable fill, acceptable molding window, cycle consistency, and reject modes | Trial settings, shot sequence, cavity identification, and issue log |
| Cavity consistency | Dimensional and visual differences among cavities | Cavity-marked samples and capability data for critical features |
| Packaging | Scuffing, distortion, clip loading, and nested-part contact | Packed shipment simulation using production-intent materials |
Do not approve a tool from one attractive sample. Your release should cover dimensional fit, appearance, assembly, process repeatability, and cavity-to-cavity consistency.
What to include in a mold RFQ
Your mold RFQ should include:
- 3D model and fully dimensioned 2D drawing with critical characteristics;
- target plate market, physical plate samples, and installation references;
- frame or holder architecture and all mating components;
- resin specification, color, texture, gloss, and recycled-content requirements if applicable;
- annual forecast, order pattern, and target production assumptions;
- cavity preference and any machine or mold-base constraints;
- logo, printing, labeling, and post-mold assembly requirements;
- trial stages, sample quantities, reports, and acceptance criteria;
- mold ownership, storage, maintenance, spare parts, and change-control terms; and
- packaging and shipment tests for the finished frame.
If resin selection is still open, compare the tradeoffs in ABS versus PP license plate frames and then confirm the chosen production formulation through samples and testing. The plastic license plate frame page can help you organize a commercial inquiry around the finished product rather than the tool alone.
FAQ
Does every custom plastic license plate frame need a new mold?
No. A new print, color, label, or laser mark may fit an existing platform. A new outer geometry, plate interface, clip system, molded-in logo, or mounting arrangement may require a new mold or a controlled insert change. Confirm what is fixed steel and what can be changed.
Can a US license plate frame mold simply be scaled for Europe?
Usually not. Plate proportions, mounting patterns, vehicle recesses, viewing requirements, and holder architecture can differ. Treat each regional product as an interface-design task based on controlled drawings and installation samples.
Is a single-cavity or multi-cavity mold better?
The answer depends on forecast, machine capacity, cycle, balance, part quality, maintenance, and investment. More cavities can increase output but also raise tool complexity and the need to control cavity-to-cavity variation.
Who should own the mold?
Mold ownership is a commercial and contractual decision. State ownership, permitted use, storage location, maintenance responsibility, access to records, transfer conditions, expected service arrangements, and end-of-life handling in writing before purchase.
What causes sink marks and warpage in a plastic frame?
Common contributors include abrupt wall changes, heavy ribs or bosses, unbalanced filling, uneven packing, nonuniform cooling, material shrinkage, poor ejection, and unstable processing. The root cause should be confirmed from geometry, trial data, and samples rather than guessed from appearance alone.
Can a molded logo be changed after the tool is built?
Sometimes. A replaceable insert can make planned logo changes easier, while direct cavity engraving may require welding and re-machining or a new component. Decide the change strategy before mold construction.