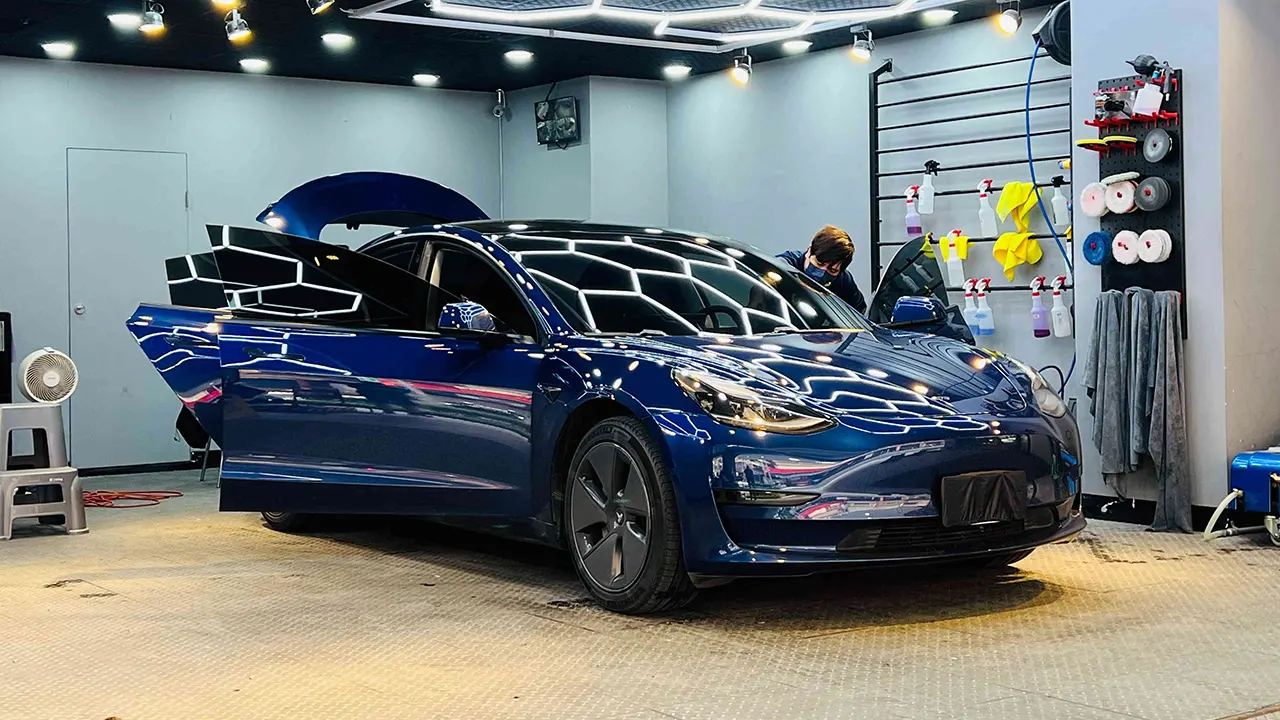
A useful car detailing checklist covers preparation, the interior, wheels, bodywork, glass, drying, and a final inspection. Start by identifying the surfaces and their care instructions, remove loose contamination before wiping, keep dirty tools away from clean areas, and add specialist treatments only when the condition calls for them.
You do not need to clay, compound, polish, and recoat a car every time you wash it. A maintenance clean and a correction project are different jobs. Use a checklist to keep the sequence organized, not to force every available product onto every surface.
Choose the Level of Detail Before Starting
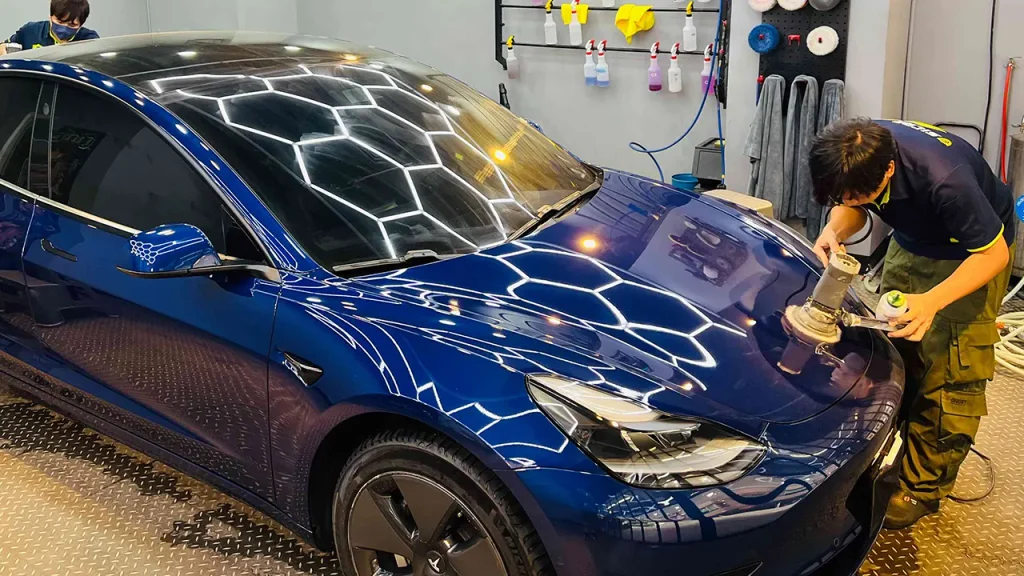
For a maintenance detail, concentrate on loose dirt, ordinary road grime, interior debris, glass, and drying. Check the existing protection and finish rather than assuming they need removal. This is the appropriate starting point for a car without a specific condition needing correction.
A deeper clean may add targeted treatment for insects, tar, mineral deposits, or bonded contamination, provided the method suits the affected surface. Identify the problem first. A brown mark, sticky residue, and dull patch do not all require the same chemical or tool.
Paint correction is a separate decision. Swirls, scratches, etching, and damaged coatings need assessment before abrasive work. If you cannot establish what the surface is or how much correction is appropriate, leave that work to a qualified detailer rather than turning a routine wash into an experiment.
Write down your goal and any problem areas. Take photographs of existing damage before cleaning or handing the car to a service. That makes it easier to distinguish a stain that remains from a scratch or defect that was already there.
A Printable Car Detailing Checklist
| Stage | Check | Complete |
|---|---|---|
| Preparation | Read relevant care instructions and identify films, coatings, repairs, and delicate trim | □ |
| Preparation | Choose a suitable work area and separate clean and dirty tools | □ |
| Cabin | Remove personal items and ordinary loose rubbish | □ |
| Cabin | Remove suitable loose mats and vacuum accessible dry debris | □ |
| Wheels | Clean wheels, tires, and accessible arches with compatible tools and products | □ |
| Exterior | Rinse loose grit before contact washing | □ |
| Exterior | Wash bodywork methodically without letting product dry | □ |
| Details | Check seams, badges, handles, fuel or charge-door surrounds, and accessible jambs | □ |
| Plate area | Clean plate and frame edges; inspect behind them when removal is justified | □ |
| Drying | Rinse thoroughly and dry suitable surfaces with clean materials | □ |
| Assessment | Inspect remaining spots before choosing any targeted treatment | □ |
| Protection | Maintain protection only with products compatible with the finish | □ |
| Interior | Clean identified cabin surfaces without flooding controls or seams | □ |
| Glass | Clean suitable interior and exterior glass without affecting films or equipment | □ |
| Mats | Let cleaned mats dry and refit using the correct retention arrangement | □ |
| Final check | Check visibility, controls, trim, loose items, and any disturbed equipment | □ |
The completion column is intended for your own working copy. Print the table or use your browser’s print options to save a copy where that function is available. It is not a requirement to perform optional correction work at every session.
Gather Tools by Surface, Not by How Many Bottles You Own
Prepare clean wash and drying materials, appropriate interior cloths, a vacuum, and any brushes suited to the intended areas. Keep wheel tools separate from bodywork tools. A brush that has collected gritty wheel debris should not move directly onto painted panels.
Choose products for the known finish and task. Painted wheels, uncoated metal, plastic lamps, wraps, matte finishes, screens, and upholstery can have different restrictions. A bottle labeled as a cleaner is not a complete compatibility statement.
Keep products labeled and in their original containers. Read dilution, application, safety, and disposal instructions before beginning. Do not mix cleaners or decant unidentified liquids into spare drink bottles. Arrange the work so children and pets cannot reach chemicals or small loose hardware.
Have more than one clean cloth available. Stop and replace a cloth when it becomes contaminated rather than trying to complete the car with the same dirty surface. The useful quantity depends on the car’s condition and the way you work, not a universal detailing-kit number.
Prepare the Car and Work Area
Use a suitable location where water, weather, and drainage can be managed appropriately. Follow local restrictions on washing and wastewater. Avoid working on hot surfaces or in conditions that make cleaning product dry before you can rinse it as instructed.
Close openings and secure the vehicle as the owner’s manual requires. Some vehicles have specific car-wash settings or precautions; those instructions are model-specific. Do not copy an electronic setting or neutral-selection procedure from an unrelated vehicle.
Check for open seams, loose trim, chipped paint, peeling film, damaged lamps, or an insecure plate assembly. Reduce exposure or seek help where ordinary cleaning could worsen damage. Cleaning should reveal condition, not pull apart a component already failing.
Remove accessories only when necessary and when you can refit them correctly. Keep hardware and instructions together. There is no benefit in dismantling unfamiliar trim just because a checklist includes the words “deep clean.”
Clear and Vacuum the Interior While It Is Dry
Remove personal items, loose rubbish, and suitable removable mats. Check compartments before vacuuming so coins, parking cards, small personal items, and loose fittings are not collected with dirt. Let the owner handle sensitive documents or belongings when cleaning someone else’s car.
Vacuum accessible areas with an attachment that does not damage the surface. Work around seats, seams, and storage spaces carefully. Do not force a nozzle into wiring, restraint components, or gaps where it can catch trim.
Move a seat only as the vehicle instructions allow and check what is beneath it before operating the mechanism. Avoid pulling connectors or trying to clean unfamiliar electrical components. A thorough clean does not require disconnecting the seat.
Leave wet cleaning for identified materials later in the sequence. Starting with dry debris removal helps you see which marks remain and avoids turning loose dirt into a larger wet stain. If you uncover dampness or an unexplained odor, investigate the source rather than simply adding fragrance.
Clean Wheels, Tires, and Accessible Wheel Arches
Check the finish and product guidance before using a wheel cleaner. A product intended for one coated wheel may not suit polished, damaged, refinished, or other surfaces. Keep wheels cool and follow the exact application and rinsing instructions.
Remove loose debris, then use suitable tools for accessible areas without forcing them behind components. Do not spray indiscriminately into exposed wiring, seals, or other sensitive areas. Work within the access you can manage safely without lifting the vehicle or removing a wheel.
Keep wheel contamination away from the body wash materials. Rinse tools separately and set them aside after use. If heavy contamination needs another treatment, assess that need rather than increasing strength or leaving the chemical on longer than specified.
If you apply a compatible tire dressing, keep it off tread and braking surfaces and follow the instructions about excess product. A darker appearance is optional; it is not a substitute for checking the tire’s condition or addressing visible damage.
Rinse Before Touching the Bodywork
Flush away loose grit and deposits before contact washing. Pay attention to lower panels, arches, and areas where dirt collects. Do not begin by wiping a dusty panel with a dry cloth simply because the car looks only lightly soiled.
Use the vehicle’s washing precautions. Pressure-washer distance, nozzle choice, sensitive components, and film-care limits are not universal. A published distance for one model does not establish a safe setup for every accessory or finish.
Treat insects and heavy deposits patiently with a suitable method. Let an approved product work for its specified period rather than scraping at the mark. Avoid leaving any treatment to dry on the panel.
If the car has peeling paint, lifting wrap edges, damaged seals, or exposed electrical parts, adapt the process. A normal rinse can become inappropriate when the surface is already compromised. Get advice rather than directing a stronger jet into the problem.
Wash the Body With Clean Contact Materials
Work in manageable areas using the vehicle and product instructions. Keep the contact material clean and avoid carrying heavy lower-panel dirt onto a cleaner upper surface. Rinse or replace contaminated materials as needed rather than chasing a fixed number of panels per cloth.
Wash around badges, handles, panel edges, and moldings without forcing bristles or tools under them. A small appropriate brush can help in an accessible recess, but it should not become a lever against a fragile badge or seal.
Do not let shampoo or other cleaning product dry on the body. Adjust the working area and sequence to the weather and product instructions. Rinse thoroughly so residue is not left in seams or on nearby trim.
Cleaning a wrapped or matte car needs its own finish guidance. Avoid assuming that polish, gloss enhancer, or an aggressive cleaner belongs on those surfaces. The target is clean, suitable material—not the same shiny appearance on every part.
Include the Easy-to-Miss Exterior Areas
Check the edges around handles, accessible door jambs, trunk or hatch openings, badge recesses, lower trim, and fuel-door or charge-door surrounds. Clean only where the vehicle instructions allow it and keep water away from exposed electrical contacts or components.
Inspect the plate and frame as part of this round. Ordinary dirt may wash away with the assembly in place. Remove the frame only when trapped contamination, a maintenance need, or another justified inspection makes that useful and you can reinstall it correctly.
Keep the official plate’s reflective face, printed information, and stickers in mind. Use gentle methods rather than treating it like bare metal. The detailed process for cleaning a license plate covers that surface separately; frame cleaning addresses the surrounding material and finish.
A rust trail near a screw is a reason to identify its source, not to polish the whole area harder. Likewise, trapped grit behind an accessory may require an attachment check. Cleaning the visible edge alone can miss the reason the mark keeps returning.
Rinse and Dry Before Judging the Remaining Marks
Rinse away cleaning residue, including places where it collects around trim. Use clean drying materials appropriate to the finish and avoid dragging a dirty towel across several panels. Work carefully around loose or damaged edges.
Check mirrors, handles, badges, and accessible seams for remaining water. If you use air, use equipment and a method appropriate to the vehicle and keep it away from areas the manual restricts. There is no need to force water deeper into a component merely to make the outside look dry.
Inspect in good light after the surface is dry. Wet paint can disguise defects and make contamination difficult to judge. Identify whether a remaining mark is a deposit, residue, water spotting, or actual surface damage before selecting another product.
Do not rub every visible mark with the same towel until it disappears. A mark that resists a suitable gentle process may need a different diagnosis. Knowing when to stop is part of a useful detailing routine.
Add Decontamination or Polishing Only When Needed
Targeted decontamination can be appropriate for identified bonded residue, but match the product to both the contaminant and surface. Tar remover, iron remover, mineral treatment, and mechanical decontamination are not interchangeable stages that every car needs.
Check compatibility with existing protection, paint condition, films, plastics, and surrounding components. Follow the exact product instructions, test where appropriate, and protect areas that should not receive it. A cleaner working on a spot does not prove it is suitable for the whole vehicle.
Mechanical decontamination or abrasive correction can create additional work if used unnecessarily or incorrectly. Do not use a clay product, compound, or machine polisher just to complete a checklist row. Ask a qualified detailer to assess uncertain paint, delicate finishes, or correction beyond your experience.
Meguiar’s paint-care framework separates washing, cleaning or preparation, optional polishing, protection, and maintenance. The useful distinction is that cleaning and correction have different purposes. It is not an instruction to repeat every process every time or use one product system on unrelated interior surfaces.
Maintain Protection Without Changing the Finish Unintentionally
Review the existing wax, sealant, coating, film, or special finish before adding another layer. Use products that are suitable for that system and follow their application conditions. More layers do not automatically mean a better result.
Keep protection products off surfaces they are not intended to treat. Plastic trim, glass, cameras, lamps, and textured parts can react differently from the painted panel nearby. Apply in a controlled way rather than spreading one product across every visible surface.
If the finish is matte, satin, or wrapped, confirm whether the proposed treatment changes its appearance or is permitted. An unwanted glossy patch can be a problem even when the product causes no obvious immediate damage.
Record what you used and when. That helps with the next maintenance clean and with troubleshooting streaking or residue later. Avoid turning a product’s claimed duration into a promise about your particular exposure and use.
Clean Interior Surfaces Without Saturating Them
Identify the material before cleaning seats, trim, the steering wheel, console, and other touchpoints. Leather, coated synthetic upholstery, fabric, soft-touch finishes, screens, and decorative inserts need appropriate instructions and products.
Apply cleaner in the manner permitted by the vehicle and product guidance. Do not flood switches, seams, speakers, airbag covers, lighting, or electrical openings. Damp cleaning is different from saturating the part until liquid runs behind it.
Work on one manageable area, remove residue as instructed, and let the surface dry. Use clean cloth faces so oils and product are not spread from a frequently touched surface onto a screen or light-colored seat.
Do not dress pedals, floor contact areas, or controls with a product that makes them slippery. If a stain or odor returns, investigate its cause. An underlying leak or contaminated material needs attention beyond another scented spray.
Keep Specialist Areas Out of an Automatic Routine
An engine bay, heavily stained headliner, restraint system, and deeply wet seat are not ordinary extensions of a body wash. Each can involve materials, adhesives, electronics, or safety components that need a different method. Do not add them to the session simply because the rest of the car is already being cleaned.
For a headliner or other bonded interior surface, follow the manufacturer’s care method and avoid assuming that saturation or aggressive brushing is acceptable. If a stain is extensive or the material is separating, ask a specialist to assess it before treatment. Cleaning cannot repair a failing bond by itself.
Leave child-restraint removal and refitting to someone who can follow the restraint and vehicle instructions correctly. If you are cleaning another person’s vehicle, agree who handles that equipment. A tidy rear seat is not a completed job if the restraint is later installed incorrectly.
Likewise, do not turn an engine-bay clean into a generic pressure-washing task. Identify the exact vehicle precautions, required protection, and suitable process first. If that information or experience is missing, exclude the area and arrange appropriate help. Recording a deliberate exclusion is more useful than marking every possible component complete without a safe method.
Finish Glass, Mirrors, and Viewing Areas
Clean appropriate interior and exterior glass with products and tools permitted for the surfaces present. Check tint, film, heating elements, coatings, and camera-related areas before applying a generic glass-cleaning method.
Use a clean cloth and inspect from the normal seating position for haze and streaks. A windshield can look clear from outside but still have a distracting film on the inside. Check mirrors and other viewing surfaces without scraping or abrasive cleaning.
For screens and camera lenses, follow the specific vehicle instructions rather than using the glass cleaner by default. A lens, display coating, and window are not identical surfaces. Keep product from running into edges and housings.
Check wiper contact areas and the condition of the blades using the appropriate instructions. Cleaning the glass does not repair a worn blade or remove the need to address damage that affects visibility.
Dry Mats, Reassemble, and Do a Final Walkaround
Let cleaned mats dry as appropriate before refitting. Use the correct mat for each position and secure the driver’s mat with its intended retention arrangement. Do not stack an extra decorative mat over it or leave a loose corner near a pedal.
Return items to suitable secure storage instead of putting a collection of loose objects on the dashboard or floor. Check that cleaning tools, bottles, and cloths have all been removed from the vehicle.
Inspect any plate assembly or accessory you disturbed. Verify attachment, visible information, nearby lamp and camera clearance, and moving-panel access. A clean frame should not go back onto an insecure mount simply because the cleaning stage is finished.
Complete the final inspection in useful light: glass, trim, residue, dampness, missed recesses, loose parts, and any new warning or functional issue. If you are collecting the car from a detailer, discuss these points before calling the work complete.
Frequently Asked Questions
How often should you do a full detail?
Base the schedule on use, storage, exposure, material condition, and existing care requirements. A routine maintenance clean and a correction session should not follow the same automatic schedule. Address harmful contamination promptly rather than waiting for a calendar date.
Should you clean the interior or exterior first?
Either can work with a planned process. Removing dry cabin debris early can be convenient, while a heavily contaminated exterior may need attention first. Keep tools and contamination separate and avoid re-soiling an area you have already finished.
Does every detail need clay and polish?
No. Inspect after a suitable wash and drying, then decide whether identified contamination or defects justify further work. Unnecessary correction adds effort and risk without necessarily improving a sound finish.
Can you use this checklist before a professional appointment?
Yes. Note the areas you want addressed, photograph existing damage, and agree what the service includes. Ask whether correction or specialist treatments are additional work rather than assuming the word “detail” covers every possible process.
What if you only have time for a shorter clean?
Prioritize safe visibility, loose debris, appropriate washing, and drying. Leave optional correction for another session. A smaller job completed carefully is preferable to rushing strong products through an unsuitable sequence.