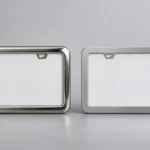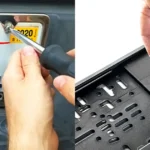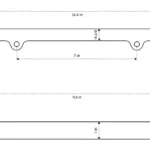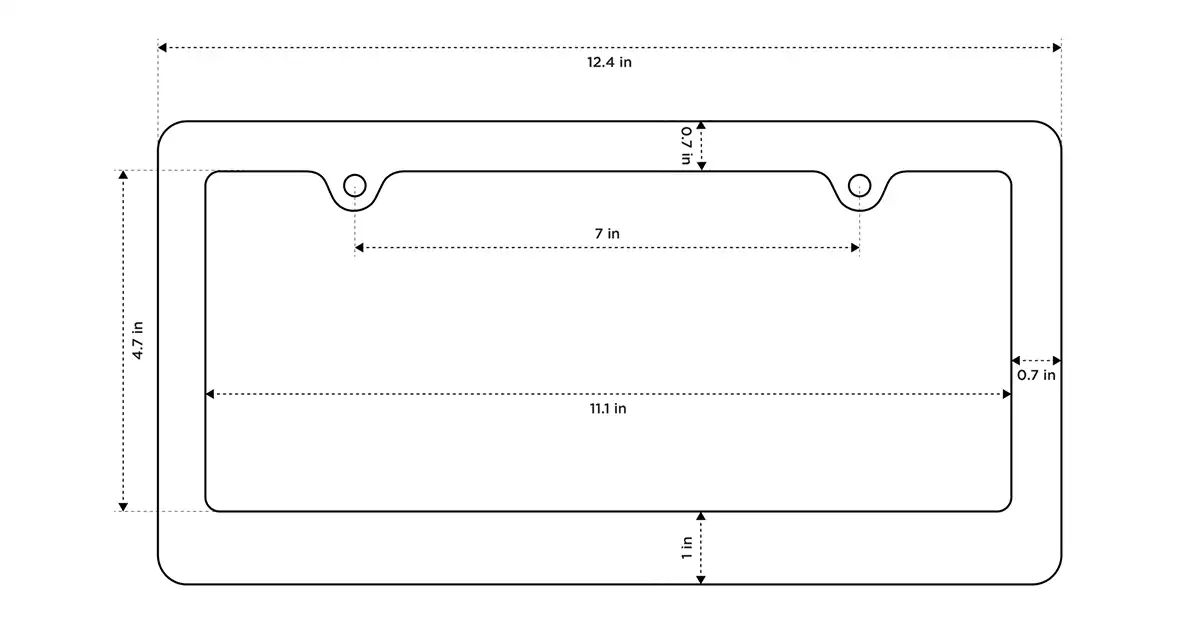
Hole spacing sounds like one number. For a license plate frame, it often hides three different questions: Where are the holes in the plate? Where are the holes in the frame? And where can the vehicle, bracket, or carrier actually accept a fastener? If those are mixed together in an RFQ, a supplier can make the frame exactly to the stated dimension and it can still fail at installation.
The practical rule is simple: measure center to center, label the interface being measured, and keep the plate drawing separate from the vehicle-side drawing. That small amount of discipline saves tooling changes, improvised slotting, and avoidable returns.
Start by naming the hole pattern you are talking about
| Pattern | What it controls | What to record |
|---|---|---|
| Plate holes | Whether the frame can align with the issued plate. | Horizontal and vertical center distance, diameter or slot shape, and edge offsets. |
| Frame holes | Whether the decorative frame or holder accepts the intended assembly. | Hole/slot geometry, local reinforcement, visible opening, and hardware clearance. |
| Vehicle or bracket holes | Whether the complete assembly can mount without forcing a mismatch. | Center distance, surface shape, usable depth, inserts, and adjacent-component clearance. |
Use “plate top-hole centers,” “frame top-hole centers,” or “vehicle-bracket hole centers” in your quotation request. A bare phrase such as “7-inch spacing” is too easy to interpret incorrectly once there is a front bracket, an offset carrier, or a plate with more than two available holes.
Measure from center to center, not from edge to edge
For round holes, take the distance from the center of one hole to the center of the next. You can measure it directly with a caliper or ruler, or measure the outside edges and subtract one hole diameter when the two holes are the same size. For slotted holes, record the slot width, slot length, and the center of the usable adjustment range. A slot is not just a bigger round hole; it changes the direction and amount of permitted adjustment.
Always record both axes when four holes are involved. Horizontal spacing tells you whether the left and right positions align. Vertical spacing tells you whether the upper and lower holes—or a holder’s retention structure—will line up cleanly. A photo with a ruler in the image is helpful, but a dimensioned sketch is better because it shows the reference edges and avoids perspective error.
Use U.S. dimensions as a check, not a fit guarantee
The current AAMVA License Plate Standard describes a 12 × 6 in. passenger plate and places the bolt holes 2.5 in. from the sides in its specialty-plate reference. That supports the familiar 7 in. horizontal center distance for many U.S. passenger-plate discussions. It does not eliminate the need to check the actual plate, plate bracket, and destination requirements.
Ohio’s current code shows why the vertical dimension and vehicle category cannot be guessed. Its standard plate reference uses 7 in. horizontal and 4.75 in. vertical center-to-center spacing; its motorcycle reference uses 5.75 in. horizontally and 2.75 in. vertically. Those are Ohio specifications, not nationwide claims. They are useful sanity checks when a supplied drawing looks incomplete or contradictory.
Before setting a frame opening or mounting layout, compare the target plate with the working dimensions in our license plate frame size guide. If you are choosing between a fixed round hole and an adjustment slot, read the practical comparison of round versus slotted mounting holes alongside the supplied vehicle data.
A five-step measuring routine that works for RFQs
- Put the target plate on a flat surface. Photograph both faces and note the destination market, plate width, height, embossing, stickers, and any text that a frame must not cover.
- Choose a fixed datum. The upper-left plate corner is often easy to communicate. Measure each hole center from that datum, rather than only reporting the distance between two holes.
- Measure the plate pattern. Record hole/slot shape, diameter or length, horizontal and vertical center positions, and whether all apparent holes are intended for use.
- Measure the installation surface separately. Photograph and measure the vehicle bumper, carrier, or bracket. Include curvature, rear clearance, inserts, and anything that blocks screw access.
- Review the whole stack on a sample. Install the plate, frame, hardware, and any bracket together. A hole pattern is only approved when the complete assembly sits correctly and leaves required plate information visible.
Round holes, slots, and four-hole layouts solve different problems
Round holes give a defined position. They are a good choice when the plate, frame, and vehicle interface are already controlled and repeatable. Slots create limited adjustment in one direction, which can help when the approved application has known variation. That flexibility has to be designed deliberately: a long slot may create an untidy visible opening, reduce local material around the screw, or shift the plate enough to affect the frame opening.
A four-hole frame gives more potential fixing points than a two-hole frame, but it does not make every vehicle installation more secure. The lower holes must align with the actual plate and mounting arrangement, and the hardware must remain accessible. Use our 2-hole versus 4-hole frame comparison to frame that decision around the real assembly rather than a generic preference.
Put these dimensions on the production drawing
| Drawing field | What a supplier needs to see |
|---|---|
| Plate reference | Market, nominal plate size, photo or drawing revision, and a clear statement of which plate version was measured. |
| Datums | A defined origin and orientation, such as upper-left corner viewed from the front. |
| Hole geometry | Round or slotted, diameter/slot dimensions, horizontal and vertical center coordinates, and permitted tolerances. |
| Frame relationship | Which holes serve the plate, which serve the vehicle or bracket, and which locations are decorative only. |
| Hardware stack | Screw type if known, head clearance, cap, washer, spacer, nut or insert, and required access direction. |
| Acceptance check | The actual sample plate and vehicle/bracket assembly that must be used for fit approval. |
Do not infer screw choice from the hole spacing alone. Hardware must fit the vehicle-side thread or insert, the total material stack, and the head/washer clearance. If that is not yet defined, treat it as an open item in the sample plan. Our license plate frame screw-size resource can help your team separate that hardware question from the spacing question.
Common mistakes that create expensive rework
Copying a plate pattern onto the frame without seeing the vehicle side. This is how a frame aligns neatly on a table but cannot reach the bumper insert or bracket.
Measuring slot edges as if they were centers. The resulting number may be close enough for a prototype and wrong enough to shift a production assembly.
Calling a layout “standard” without a market and plate reference. The term has no useful engineering value unless everyone agrees on which plate and which vehicle interface it describes.
Approving only an artwork proof. Artwork can be correct while the frame opening hides plate information or the hardware stack sits proud of the product.
FAQ
What does license plate frame mounting hole spacing mean?
It usually means the center-to-center distance between mounting holes. In a complete installation, clarify whether the measurement belongs to the plate, frame, or vehicle/bracket.
Is 7 inches the standard mounting-hole spacing?
Seven inches is a common horizontal reference in U.S. passenger-plate discussions, supported by AAMVA’s 12 × 6 in. specialty-plate layout. It is not a universal answer for every vehicle, plate, bracket, or motorcycle program.
Should I specify round holes or slotted holes?
Choose round holes for a controlled, fixed pattern. Consider slots only when a defined adjustment range is needed and the resulting appearance, material around the slot, and plate position have been reviewed on a sample.
What should I send for a custom frame quotation?
Send the target plate drawing or measured sample, a vehicle-side mounting photo and dimensions, your market, artwork, desired material/finish direction, and any known hardware requirement. For a custom project, you can start the conversation through our contact page.