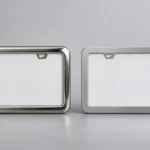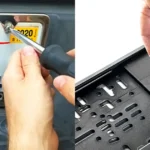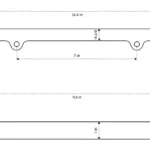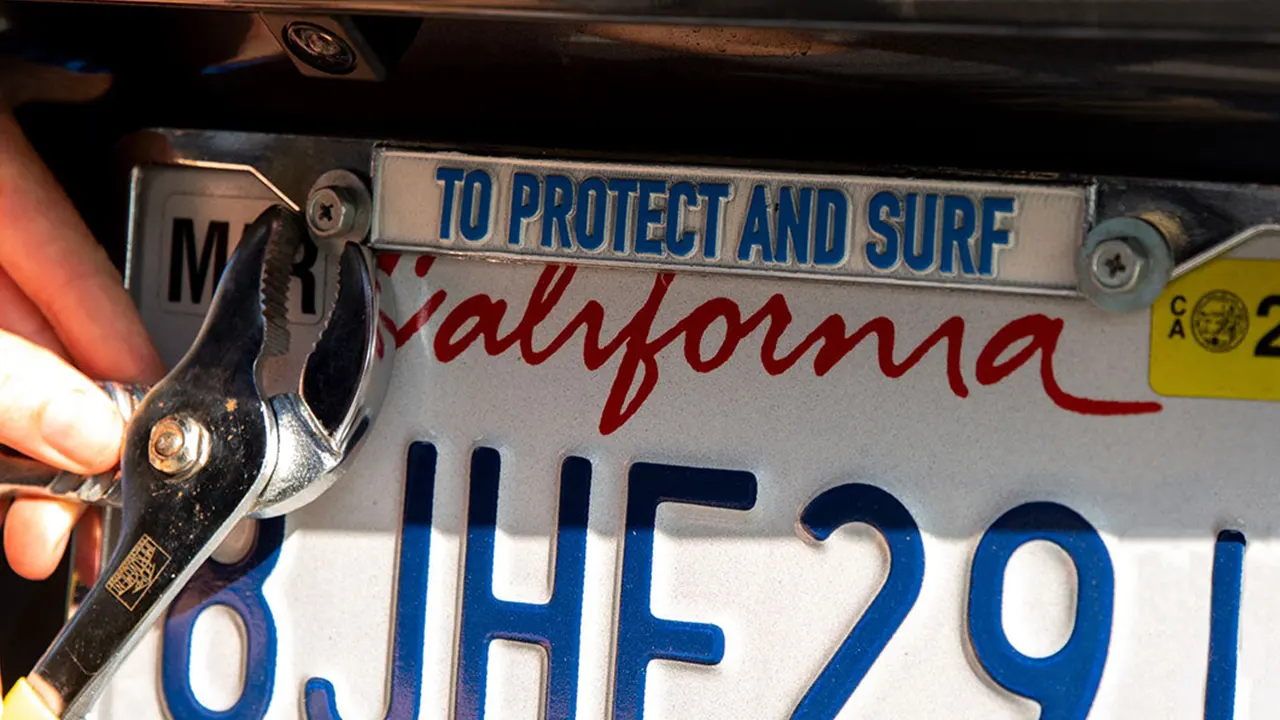
The right washer and spacer combination keeps the screw head seated, supports the frame around the mounting hole, and closes unwanted gaps without bending the frame. The wrong combination can do the opposite: the screw bottoms out before the assembly clamps, a decorative cap no longer fits, or a soft pad compresses until the frame starts to move.
Hardware stacks vary by vehicle and mounting interface. Start with the mounting interface, then choose each part for a specific job.
Washers and spacers do different jobs
| Component | Main job | Common selection mistake |
|---|---|---|
| Flat washer | Spreads the screw-head load over a larger bearing area | Using an outside diameter that overhangs a narrow border or an inside diameter that does not seat under the head |
| Cup or cap-base washer | Seats the screw head and provides a base for a decorative cap | Choosing it before checking the screw-head profile and cap system |
| Rigid spacer or shim | Fills a controlled gap and supports the frame at the mounting point | Adding height without allowing for the resulting loss of usable screw engagement |
| Elastomer isolator or soft pad | Reduces direct contact, noise, or localized rubbing | Treating a compressible pad as a dimensionally stable structural spacer |
| Locking washer or other retention feature | Helps a compatible fastener system resist rotation or preload loss | Adding it automatically without checking the joint material, vehicle guidance, or available thread length |
A single kit may use more than one of these parts, but every layer should earn its place. If you cannot say what a washer or spacer is solving, leave it out of the proposed bill of materials until testing proves otherwise.
Map the stack from the screw head to the vehicle
Lay out the assembly in order before you select screw length. A typical stack may include the screw head, cap-base washer, frame, license plate, rear isolator, spacer, vehicle bracket, and threaded receiver. Another vehicle may put the plate behind a molded holder or use only two upper mounting points. Those are different joints even when the visible frame is the same.
Record the nominal and compressed thickness of every layer. A rubber pad should be measured under a defined load because its free thickness does not tell you its installed contribution. Also check whether the screw enters a metal thread, a plastic insert, a clip nut, or another vehicle-specific receiver. The license plate frame screw size guide explains why thread form, diameter, length, and receiver condition must be treated as a matched system.
Use a washer when the bearing surface needs help
A washer is useful when the screw head is small relative to the frame slot, when the frame material could mark or deform under the head, or when a decorative cap needs its specified base. The washer face should sit flat. It should not bridge a raised logo, hang over the clear opening, or rest partly on a radius.
Check three dimensions together:
- the washer inside diameter against the screw shank and head geometry;
- the outside diameter against the available flat bearing land;
- the washer thickness against the total stack and cap clearance.
For slotted frame holes, make sure the selected washer still covers the slot at both ends of the permitted adjustment. A washer that looks acceptable at the center can lose support when the frame is shifted to its fit limit.
Use a spacer to support a real gap
A spacer belongs where tightening would otherwise pull the frame across an unsupported distance. That gap may come from a recessed vehicle bracket, a raised mounting boss, a curved bumper surface, or the geometry of the frame itself. The spacer transfers clamp load through a defined path instead of asking the border or mounting tab to flex until it touches the vehicle.
Measure the gap with the plate and frame located in their intended position, not with the parts hanging from one loose screw. Then select a spacer height that supports the joint without forcing the finished frame away from the vehicle. If the mounting surface is uneven, one spacer height may not work at every hole.
Do not use a tall pile of loose washers as an unreviewed substitute for a purpose-sized spacer. It increases the number of interfaces, complicates packing, and makes installer error more likely. For a repeat B2B program, a controlled spacer is usually easier to specify, count, and inspect.
Soft pads control contact, not every structural problem
An elastomer pad can separate the plate or frame from painted surfaces and can damp small movements. It also compresses, relaxes, and changes behavior with temperature and age. If the assembly depends on a precise stand-off distance, use a geometry or material whose compressed height you can control and validate.
Drainage matters too. A full-width pad or badly placed adhesive strip can trap water and grit. Keep the contact-control feature local, cleanable, and clear of intended drainage paths. For more on contact points, see how plastic license plate frames can contact vehicle paint.
Check screw engagement after adding hardware
Every washer and spacer consumes screw length. After building the proposed stack, confirm that the fastener reaches the receiver far enough to engage securely, but does not bottom out or contact hidden components. A screw that feels tight because its tip has bottomed is not proof that the frame is clamped.
Do not publish one torque value for the kit. Allowable tightening depends on the fastener, receiver, materials, surface condition, joint stiffness, and vehicle guidance. Tighten only to the applicable specification and stop if the frame bows, the washer embeds into the surface, the receiver turns, or the screw reaches an abnormal hard stop.
If field complaints involve movement after installation, diagnose the stack before adding random locking products. The article on preventing loose license plate frame screws separates wrong fit, bottoming, damaged threads, and true vibration loosening.
A practical selection workflow for B2B kits
- Define the target vehicles, plate formats, bracket types, and mounting-hole count. A broad application claim needs a much broader sample set than a model-specific kit.
- Build a layer-by-layer stack drawing for each mounting condition. Mark which parts are rigid and which are compressible.
- Measure the bearing land, unsupported gap, hole or slot range, receiver depth, and usable screw engagement on real samples.
- Select the washer style, diameters, thickness, spacer height, and contact material as a system.
- Install production-equivalent parts. Confirm the frame stays flat, the plate remains readable, the cap closes, and nothing contacts paint or trim unexpectedly.
- Check for bottoming, cross-threading, washer pull-through, tab bending, pad extrusion, rattling, and water traps.
- Repeat the check after vibration and relevant environmental conditioning. Reinspect the joint rather than judging only whether the screw still turns.
- Freeze the bill of materials and packing count only after the fit range passes.
What to put on the supplier drawing and packing list
- washer type, inside diameter, outside diameter, thickness, material, and finish;
- spacer inside diameter, outside shape, height, material, color, and permitted compression if relevant;
- stack order shown in a simple exploded diagram;
- compatible screw-head and decorative-cap system;
- target receiver and usable engagement requirement;
- quantity per kit plus any intentional spare quantity;
- fit samples, inspection method, and acceptance criteria;
- installation warning against bottoming, cross-threading, and overtightening.
A clear stack drawing does more work than a bag labeled “hardware.” It helps purchasing compare like with like, gives production a countable kit, and gives installers the order they need. You can also pair it with the license plate frame installation procedure for the final work instruction.
Frequently asked questions
Does every license plate frame need washers?
No. Use a washer when it provides the required bearing area, surface protection, adjustment coverage, or cap interface. Some approved fasteners already have a suitable flange, while some frame holes need a separate washer.
Can rubber washers replace spacers?
Only when the required function and compressed dimension have been validated. Rubber can isolate contact and reduce noise, but its compression and long-term set make it different from a rigid spacer.
Should spacers go in front of or behind the plate?
The location follows the load path you need to support. Many gaps occur behind the plate or frame, but the correct order is vehicle- and product-specific. Use an assembly drawing rather than a one-size-fits-all rule.
Why is the frame still loose after the screw feels tight?
The screw may be bottoming, the receiver may be damaged, the stack may contain an unsupported gap, or a soft layer may have relaxed. Remove the assembly and inspect the joint instead of applying more torque.
What application range can one hardware kit cover?
A broad kit can cover a defined application range, but “every vehicle” is difficult to validate because receivers, recesses, brackets, trim, and factory fasteners vary. State the tested fit range and provide exceptions.
If you are developing a retail, dealer, or private-label kit, send the target vehicles, frame drawing, plate samples, current hardware, packaging format, and known field issues through the Xingchang project inquiry page. Those inputs make washer and spacer selection testable instead of guesswork.