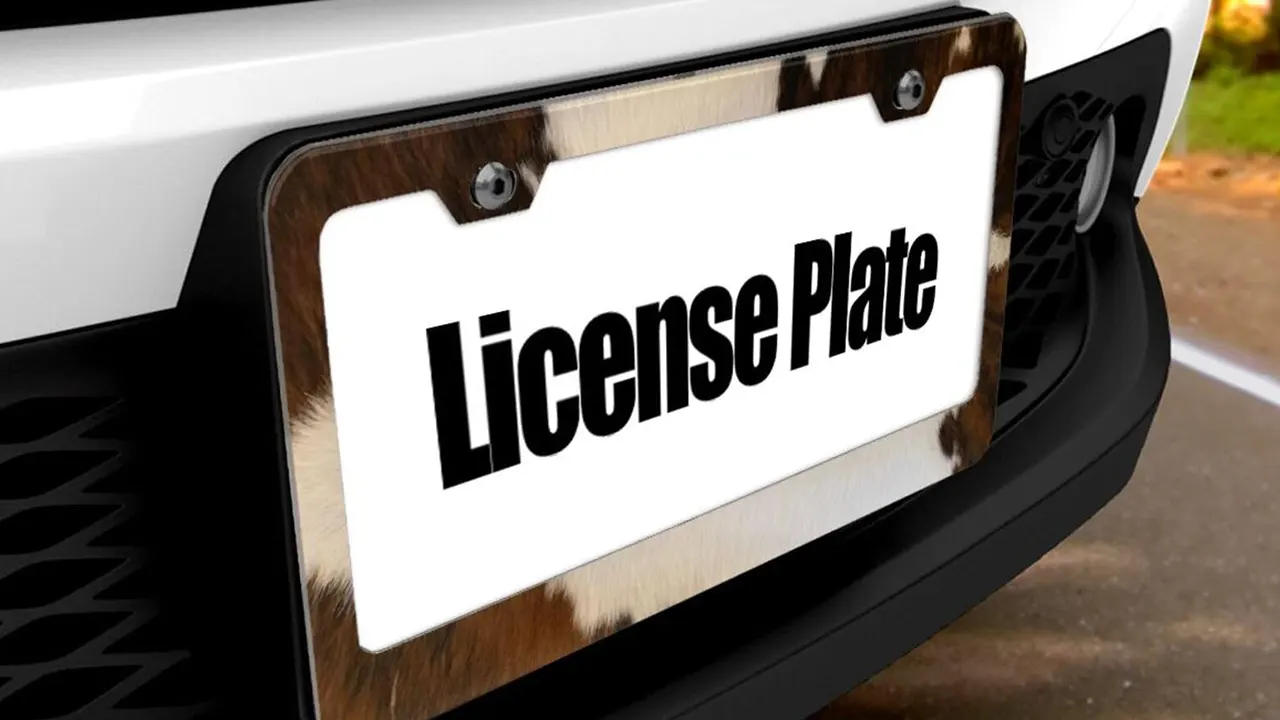
The right license plate frame border width is the narrowest or widest profile that meets your actual job—not a universal number. A slim border protects visibility and fits tight vehicle recesses. A wider border creates room for dealer names, logos, raised lettering, or decorative finishes. Push either direction too far and you can create a weak frame, hidden plate information, or an assembly that no longer fits the vehicle.
Before you compare samples, make sure everyone is measuring the same feature. “Border width” may mean the visible face, the overlap onto the plate, or the distance between the inner and outer frame edges. Those are related, but they aren’t interchangeable.
Define three widths on the drawing
| Width | Where it is measured | Why it matters |
|---|---|---|
| Visible face width | Across the decorated front surface | Controls visual weight and available branding area |
| Plate overlap | From the plate edge to the inner lip over the plate face | Controls retention and risk of covering required information |
| Structural section width | Across the complete molded or formed section | Affects stiffness, clips, ribs, tooling, and rear clearance |
A wide front face does not always create the same amount of plate overlap. The structure may extend outward instead of inward. Ask for a section view through the top, bottom, and side borders so you can see what the frame actually covers.
Start with the information that must remain visible
The plate number is only part of the visibility check. Jurisdiction names, validation stickers, and other required marks can sit close to the plate edge. Their positions vary by plate design, so a border that looks harmless on one state’s plate can overlap another.
AAMVA’s plate standard focuses on legibility for both people and license plate readers and describes the layout of full-size North American plates. For a commercial frame program, use that standard as a reference, then overlay the real plate designs in your target market. Don’t label a border “50-state legal” based on width alone.
Choose width by the job the border must do
| Design goal | Likely direction | What to verify |
|---|---|---|
| Minimal appearance | Narrow, even border | Corner strength, finish consistency, screw-cap clearance |
| Dealer or promotional text | Wider top or bottom panel | Readable artwork without covering plate details |
| Raised lettering or badge | Local wider branding zone | Letter height, attachment, projection, and packaging protection |
| Flexible sleeve frame | Controlled wrap-around edge | Channel grip, drainage, plate insertion, and visible opening |
| Tight vehicle recess | Reduced outside envelope | Camera, hatch, bracket, sensor, and body-panel clearance |
You don’t have to make all four sides the same width. A slim top and sides with a wider lower branding panel can work well when the target plate layout leaves usable space at the bottom. The key is to design that asymmetry around verified plates, not a blank rectangle.
Material changes what a narrow border can tolerate
Border width and material geometry should be developed together. A molded plastic frame may use ribs, radii, or local bosses to support a narrow visible face. A stamped or formed metal frame may use bends and returns for stiffness. A flexible sleeve relies on its channel and material behavior to stay seated.
That’s why a width copied from one material can perform differently in another. Review flatness, corner behavior, screw loading, edge condition, and decorated-surface durability on the actual production-intent sample.
Branding space is more than text height
A logo needs quiet space around it, manufacturing allowance at the edges, and enough distance from mounting holes or caps. Screen printing, UV printing, engraving, molded letters, and attached badges each consume the border differently.
Instead of asking, “Can our logo fit?” send the artwork at actual size. Ask the supplier to mark the printable or decorative zone, hole keep-outs, trim tolerance, and visible area. If the brand name becomes unreadable at the safe width, shorten the message or change the decoration method before widening the border over plate information.
Check the installed stack
Border width can affect more than appearance. At the top edge, it may interfere with a hatch handle or camera. At the sides, it can contact a recessed pocket. Around the holes, the border must leave room for the screw head, washer, or cap without pushing the frame off center.
Place the frame, plate, hardware, pads, bracket, and vehicle surface into one stack-up review. A sample inspected loose on a table won’t reveal every installed conflict.
A practical approval checklist
- Identify visible face width and plate overlap separately.
- Measure top, bottom, and side borders at named locations.
- Overlay target plate information and sticker zones.
- Check screw heads, caps, slots, and nearby branding.
- Confirm the outer frame envelope against the vehicle recess.
- Inspect the final material, finish, and decoration—not only an unfinished sample.
- Record tolerances and the method used to inspect them.
The frame size guide helps establish the plate format, while the customization guide helps you organize branding and structural inputs.
Frequently asked questions
Is a slimmer border always safer?
It usually leaves more plate information visible, but it still needs adequate strength, retention, finish coverage, and hardware clearance. Verify the complete design.
Can the bottom border be wider than the top?
Yes, when the target plate layout and local rules leave that area clear. Review actual plates from the intended markets before approving the artwork zone.
Does border width equal plate overlap?
No. The visible border can extend outward, inward, or both. A section view shows how much of the plate face is actually covered.
What should a supplier sample report include?
Ask for border measurements at defined points, visible-opening dimensions, outer envelope, flatness, hole alignment, artwork position, and an installed-fit check.
Make the border earn its space
A useful border either protects an edge, supports the structure, carries branding, or creates the intended visual finish. If an extra millimeter does none of those jobs, it may only reduce clearance. Share the target plates, vehicle envelope, artwork, hardware, material, and finish so the width can be reviewed as part of the whole product.