Plastic license plate frames are injection molded by feeding prepared resin into a heated barrel, plasticizing it with a rotating screw, injecting the melt into a closed metal mold, holding pressure as the part begins to shrink, cooling the frame, and ejecting it. Trimming, decoration, assembly, inspection, and packaging come afterward.
The machine cycle is short to describe. Getting a long, thin frame to fill, cool, release, and remain flat is the real engineering work.
The product specification comes before the molding cycle
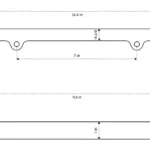
Before tool design, define the target plate and vehicle interface. The drawing should identify the outside envelope, clear opening, border width, mounting holes or slots, rear supports, clips, ribs, logo zones, surface finish, and areas that must stay clear of registration information.
Then select the exact resin grade and color system. Resin choice affects melt flow, shrinkage, stiffness, impact behavior, surface reproduction, UV strategy, and clip performance. Don’t let a quotation replace the grade with a generic word such as “plastic” or assume every frame uses ABS. The ABS versus PP license plate frame comparison shows why the finished construction matters more than a resin-family label.
What happens during one injection molding cycle
| Cycle stage | What happens | Frame-specific concern |
|---|---|---|
| Mold closes and clamps | The two mold halves align and resist injection pressure | Parting-line control around the long perimeter and opening |
| Plasticizing | Pellets are heated and mixed by the machine screw | Material drying and temperature follow the resin supplier’s process window |
| Filling | Melt flows through the runner and gate into the cavity | Long flow paths, thin borders, holes, ribs, and weld-line locations |
| Packing and holding | Pressure feeds additional melt as the part contracts | Sink, local overpacking, stress, and dimensional balance |
| Cooling | The part solidifies while heat leaves through the mold | Uneven cooling can contribute to bow, twist, or local sink |
| Mold opens and ejects | Pins, blades, or another system releases the part | Ejector marks, clip damage, sticking, and distortion |
Why frame geometry needs careful DFM
A license plate frame combines a large opening with a thin perimeter. That makes material distribution and stiffness sensitive to local geometry. Thick bosses beside thin borders can cool at different rates. A wide logo panel can pull differently from a slim top rail. Unsupported corners may distort after ejection.
Use ribs and gradual transitions to add stiffness without creating avoidable thick masses. Put draft on walls that release from the mold, and give textured sidewalls enough draft for their actual texture depth. Review undercuts in clips and retention tabs early because they may need a sliding shutoff, side action, flexible release, or a design change.
The license plate frame mold design guide goes deeper into parting line, gates, cooling, ejection, and tool approval.
Gate, weld line, and ejector locations affect the visible frame
The gate is where melt enters the cavity. Its type and location influence the fill pattern, required pressure, weld lines, orientation, gate vestige, and appearance. A gate hidden on the back may sound ideal, but the melt still has to reach the far corners and thin sections before they freeze.
When two flow fronts meet around the opening or a mounting feature, they create a weld line. That line can be cosmetic, structural, or both. Ask the toolmaker to show the expected fill pattern and confirm critical areas during trials.
Ejectors must push on surfaces that can carry the release load. Their marks should be located away from agreed show faces where possible. A part that is still too hot or is ejected unevenly can leave the tool distorted even if the cavity dimensions are correct.
Tool trials turn a mold into a stable process
- Confirm the actual resin grade, lot controls, drying requirement, and color system.
- Record fill behavior before relying on extra packing pressure to hide an incomplete fill.
- Establish a packing window that fills critical features without flash or ejection trouble.
- Balance mold temperature, cooling time, and ejection so the frame reaches a stable shape.
- Measure parts after a defined conditioning period, not only while they are warm.
- Inspect each cavity separately in a multi-cavity mold.
- Apply the real texture, print, plating, badge, or raised-letter operation to production-equivalent samples.
A machine setting copied from another resin or tool is only a starting point. The approved process window belongs to the exact frame, mold, material, and machine setup.
Secondary work completes the product
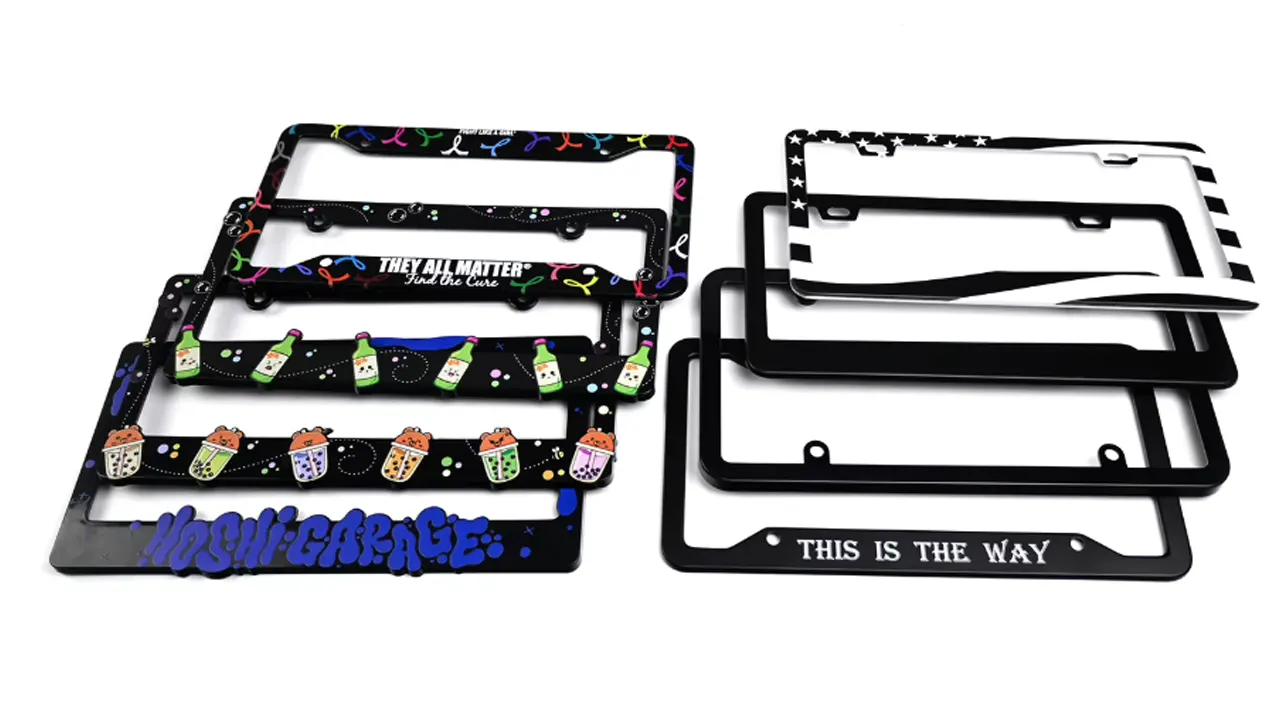
After molding, the runner or gate vestige may need trimming. Parts can then be cleaned, decorated, assembled with badges or inserts, and packed. Surface preparation and decoration must match the resin and finish. Fine printing generally needs a more controlled show surface than bold raised lettering.
If appearance is still open, compare textured and smooth plastic frame surfaces. For printed programs, the UV versus screen printing article explains the artwork and process tradeoffs.
What buyers should inspect
- material identity, color reference, and permitted regrind policy;
- outer dimensions, opening, hole positions, and clip geometry;
- flatness and twist in the agreed free and installed conditions;
- short shots, flash, sink, flow marks, weld lines, burns, and contamination;
- gate and ejector marks against the cosmetic standard;
- logo scale, position, adhesion, color, and finish;
- fit with the actual plate, bracket, fasteners, and packaging.
For a custom program, send the plate format, frame drawing, target resin or performance requirements, finish, artwork, quantity forecast, packaging, and inspection priorities through the project inquiry page.
Frequently asked questions
Why do molded plastic frames warp?
Warpage can come from uneven wall sections, unbalanced fill or packing, cooling differences, resin shrinkage, ejection, or post-mold handling. Measure the pattern and trace it to the process rather than simply increasing thickness.
Can clips be molded as part of the frame?
Yes, when the resin, clip geometry, deflection, mold-release direction, and intended number of assembly cycles support it. Test the clip across production variation and the expected temperature range.
Does a multi-cavity mold make identical parts?
It is designed for repeat production, but each cavity can show different fill, cooling, wear, or dimensions. Keep cavity identification and inspect results by cavity.
When should decoration be approved?
After the molded surface and material are representative of production. Artwork approved on a flat digital proof does not confirm adhesion, color, or edge quality on the real frame.