To personalize your car, start with one thing you want to improve: how the cabin works, how the exterior looks, or how the car fits your daily routine. Choose a simple visual direction, try suitable removable accessories first, and leave permanent or safety-related changes until you understand their fit, cost, and consequences.
You don’t need a full wrap, new wheels, or a collection of gadgets to make a car feel like yours. A well-organized cabin, a color you repeat thoughtfully, and a small detail such as a custom license plate frame can be enough. The useful question is not how many accessories you can add, but which changes you will still enjoy after the first week.
Decide What You Want to Feel Different
Think about an ordinary journey rather than a photograph of your ideal car. What bothers you now? Perhaps your charging cable falls into the passenger footwell, muddy shoes make cleaning difficult, or the exterior has several unrelated finishes. Those observations give you a better starting point than an endless shopping list.
Choose one practical goal and one appearance goal. For example, you might want easier storage and a quieter black-and-silver look. That combination helps you reject accessories that fit neither purpose, even if they look appealing in isolation.
Separate personalization from repairing faults. A new trim piece will not cure a broken clip, and decorative lighting is not a substitute for repairing a failed original lamp. Fix the underlying problem before covering it with another object.
Photograph the cabin and exterior in daylight. Notice the finishes already there: painted bodywork, textured plastic, brushed trim, or bright metal. Working with those existing details is usually simpler than introducing several new styles that compete for attention.
Pick a Small Palette Instead of a Theme for Every Surface
A restrained palette makes decisions easier. You might use the body color, one neutral finish, and a small accent. The accent does not have to appear everywhere; a repeated detail can look intentional without spreading across the dashboard, seats, wheels, and every badge.
Check materials as well as color. Gloss black, textured black plastic, and matte black coating can look quite different next to one another. A finish that looks subtle in a product image may reflect strongly in direct sun or show fingerprints where you touch it frequently.
Build a small reference collection with your own car included. Compare an accessory against the real vehicle rather than a different model in studio lighting. If you cannot decide between two directions, try one removable detail and live with it before committing to paint or a large adhesive treatment.
Avoid buying matching sets solely because they share a name. The items may still have different fit requirements, textures, or removal methods. Visual consistency should not come at the expense of a usable door pocket, clear mirror, or secure control surface.
Sort Ideas by How They Attach and Come Off
| Type of change | Typical examples | What to check first |
|---|---|---|
| Loose but secured storage | Document organizer, suitable cargo pouch | Safe storage location, access, movement during braking |
| Existing-point attachment | Suitable plate frame or vehicle-specific accessory | Hardware, clearance, retained original parts |
| Adhesive application | Selected decals or trim film | Paint condition, surface compatibility, removal procedure |
| Replacement component | Mats, selected trim, audio components | Exact vehicle application, instructions, safety interfaces |
| Permanent or specialist work | Paint, drilling, major electrical or mechanical changes | Professional assessment, legal and insurance implications |
“Removable” is not a complete installation description. An adhesive can be removable from sound original paint yet behave differently on a repaired panel. A screw-mounted item can still leave damage if it uses the wrong screw or traps grit against the finish.
Ask how removal works before ordering. If the answer involves cutting, heating, solvents, or dismantling unfamiliar trim, include that work in the decision. Easy installation does not necessarily mean easy restoration.
Use the Settings Your Car Already Has
Before buying accessories, spend time with the owner’s manual and built-in preferences. Adjust the driving position, mirrors, display brightness, navigation choices, and available audio settings while parked. Some changes cost nothing and may solve the exact discomfort you were trying to address with another product.
If several people use the car, check whether it supports separate driver profiles and what those profiles actually store. Do not assume every model saves the same seat, mirror, climate, or assistance settings. Test the change while stationary and make sure another driver knows how to restore their own preferences.
Organize the controls around the way you drive, not around a dramatic screen layout. Keep essential information easy to recognize. Avoid disabling warnings or driver-assistance functions merely to create a cleaner-looking display.
A settings reset can also be part of handing the vehicle back or selling it. Keep account and privacy choices in mind, especially if the infotainment system stores destinations or paired phones. Personalization should not require leaving your personal information behind when ownership changes.
Make the Cabin Easier to Use Before Adding Decoration
Start by removing objects you do not need. Then assign a secure place for the things that remain: documents, a charging cable, parking cards, and basic cleaning supplies. A tidy arrangement often changes the feel of the cabin more than another decorative cover.
Choose organizers that fit the intended compartment without interfering with a lid, latch, seat track, or handbrake. Open and close nearby parts through their full travel while parked. Check access with the seat in different positions if more than one person drives.
Keep loose objects out of the driver’s footwell. Do not run a charging cable across pedals or through a seat mechanism. For a phone mount, follow the vehicle and mount instructions and check your local placement rules; having a mount does not make handling a phone while driving appropriate.
Avoid solving a small storage problem with an accessory that creates a larger obstruction. A large console insert can restrict access to a control, and a seat-gap filler can interfere with a buckle or adjustment mechanism. Fit is about movement and access, not just whether the object can be pushed into the space.
Treat Mats, Seats, and Airbag Areas Differently From Ordinary Trim
Floor mats need the correct shape and retention arrangement for the vehicle. Use one suitable mat in the driver’s position, secure it as instructed, and check that it cannot interfere with the pedals. Do not stack a decorative mat over an existing one to achieve a color scheme.
Seat covers need more care than matching upholstery colors. Check the vehicle’s instructions and the cover’s exact application, including side-airbag and seat-function compatibility. A generic “airbag compatible” phrase without clear vehicle information is not enough to settle the decision.
NHTSA describes airbags as supplemental protection designed to work with seat belts. Keep decorative pieces away from airbag covers and deployment areas. Do not attach ornaments to the steering-wheel airbag cover or cover a restraint component just to match the cabin palette.
If an accessory involves seat wiring, occupancy detection, restraint systems, or the steering wheel, move beyond casual DIY advice and use qualified help. There are plenty of lower-consequence ways to personalize a car without changing these systems.
Use a License Plate Frame as a Small Exterior Detail
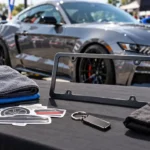
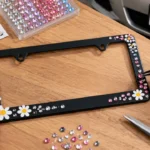
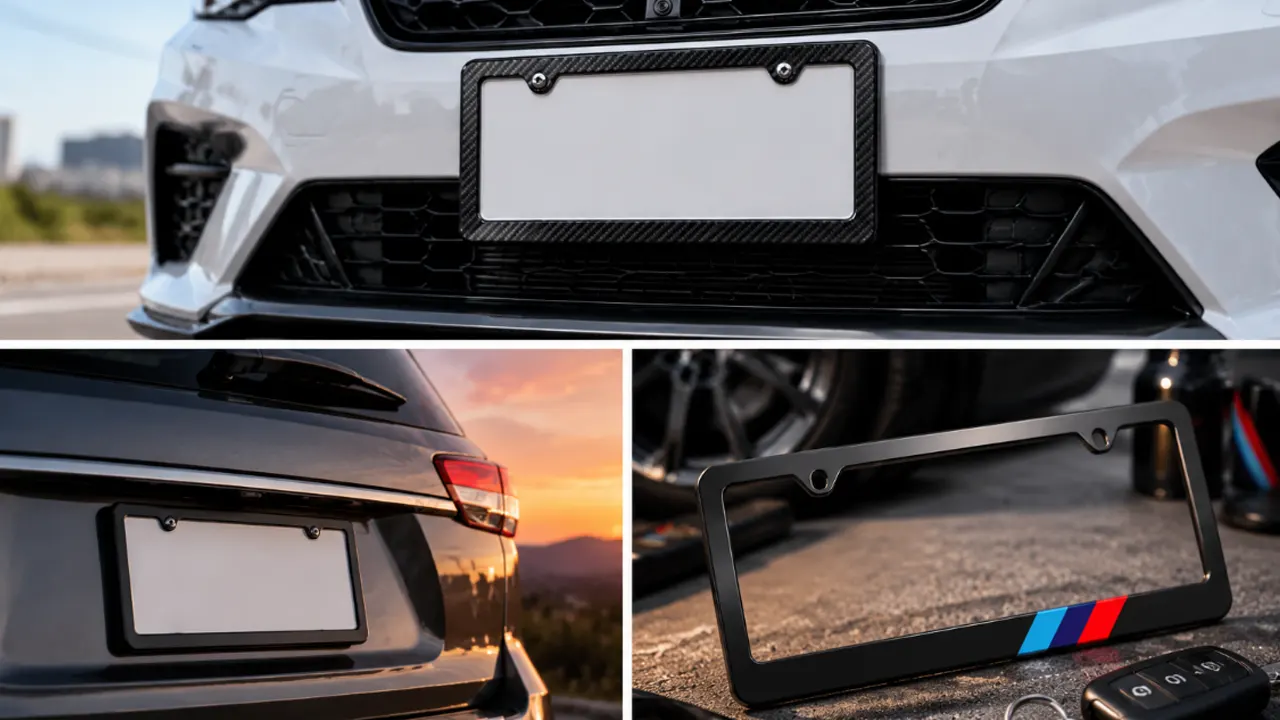
Custom license plate frames can add a name, original graphic, short phrase, or restrained finish around the plate. The frame should support the look you want without competing with the plate information or creating an oversized border.
Measure the actual plate, opening, mounting holes, and vehicle recess. Check registration stickers, the jurisdiction name, numbers, and any other information that must remain visible under the applicable rules. A frame is not a plate cover, and it does not authorize altering the official plate.
Choose text at actual size. A short phrase can read cleanly where a long slogan becomes cramped. If the plate area is already visually busy, a plain narrow frame may suit the car better than additional lettering. Do not assume a country label proves fit; compare the plate and frame measurements with the selected model.
During installation, use hardware appropriate to the existing mount. Make sure the frame does not obstruct a lamp or camera, rub on paint, or interfere with a tailgate or trunk. Keep the original frame and fasteners if you may want to restore the vehicle later.
Decals and Film Need a Surface Check
A small decal can be an approachable exterior change, but first identify the surface. Sound original paint, recently refinished paint, textured trim, and protective film are not interchangeable substrates. Follow the material supplier’s instructions for application and removal on the specific surface.
Do not apply a decal over corrosion, lifting clearcoat, or damaged paint to hide the problem. Removing it later may expose a larger damaged area, and the decoration does not repair what is underneath. If you are unsure about a repaired panel, ask a body shop before applying adhesive material.
Place the design on a photograph or paper mockup before sticking anything down. Check panel gaps, door movement, lights, reflectors, cameras, and sensors. Avoid areas where an edge will be repeatedly rubbed during normal use.
For a large wrap or complicated shape, discuss preparation, seams, removal, and expected finish with an experienced installer. Do not assume a wrap is harmless to every paint system or that it will improve resale value. The condition of the underlying surface still matters when the film eventually comes off.
Know When an Appearance Change Becomes a Technical Project
Wheels, suspension, lighting, exhaust, and major audio work can change more than appearance. A wheel choice involves more than matching diameter; an electrical accessory involves more than finding a convenient power wire. These projects need vehicle-specific information and often professional installation.
Keep functional lighting and visibility in their proper role. Colored decorative lighting is not a replacement for original vehicle lamps, and local rules may restrict where it can be used. Avoid buying a system because it looks striking in a stationary show photograph without checking its road-use requirements.
For tinting, check the rules that apply to the vehicle and the intended glass positions before selecting a shade. A retailer’s description of “privacy” does not establish legal compliance or suitability for night driving.
You can keep a future-project list without starting every project now. If a change requires a professional assessment, place it in a separate budget and timeline. That lets you enjoy small, suitable personal touches while making the larger decision carefully.
Budget for Installation, Care, and Removal
Set a spending limit that includes more than the product price. Add delivery, necessary hardware, professional fitting where needed, cleaning requirements, and eventual removal. A low-cost accessory can become expensive if it needs paint correction or replacement trim afterward.
Work in stages. Finish one area, use the car normally, and decide whether the next idea still helps. Buying several products at once can make it harder to tell which change caused a rattle, blocked access, or simply did not look as expected.
Keep receipts and installation information with the vehicle’s records. If a seller says a product suits a particular year, trim, or mounting arrangement, save that information rather than relying on a listing that may change later.
Leave money for ordinary ownership needs. Tires, maintenance, registration, and repairs still matter more than an unfinished appearance project. A car that feels comfortable and works properly is a better base for personalization than one covered in new accessories while basic issues remain unresolved.
Three Ways to Build a Coherent Starter Plan
For a daily commuter, begin with a secure cable arrangement and a useful document storage method. Choose one exterior accent, such as a plain frame matching existing trim. Leave large cosmetic changes until you know what you enjoy seeing and using every day.
For a shared family car, prioritize changes that work for more than one person. Test storage access from different seating positions and keep individual objects removable. A restrained exterior detail may be easier to agree on than replacing cabin surfaces with a strongly personal pattern.
For an enthusiast working toward a show appearance, collect references and separate static display details from road-use equipment. A display accessory may need to come off before driving. Plan larger work around vehicle-specific requirements rather than treating a show image as an installation diagram.
These are example approaches, not required shopping bundles. You can combine a practical interior improvement with a sentimental exterior detail, or decide that one change is enough. The common thread is giving each addition a clear job instead of filling every available surface.
Check Ownership, Insurance, and Warranty Before Bigger Changes
If you lease, finance, share, or borrow the vehicle, check what you are allowed to change. Being able to remove an item does not automatically mean the agreement permits it. Keep original parts and document the starting condition where restoration may matter.
A small frame attached to existing mounting points is a different kind of decision from drilling a bumper or changing a suspension component. Even so, the lease and installation conditions control the outcome. The practical checks for a frame on a leased car help you keep those questions separate.
In the United States, the FTC explains that using an aftermarket part does not by itself cancel warranty coverage. It also explains that damage caused by a defective part or improper installation can lead to denial of coverage for the affected damage. That is not permission to assume every modification is covered.
Check your own warranty and insurance terms, and ask about proposed changes when necessary. Requirements differ between contracts and countries. Keep the answer in writing for a significant project rather than relying on a general assurance from a product seller.
Make Online Shopping Less of a Guess
Before ordering, create a short fit note for the part of the car you want to change. Include the model year, body style, relevant trim or equipment, a photograph of the installation area, and the measurements the seller actually needs. Model names can stay the same while consoles, seats, cameras, or brackets change between versions.
For an exterior accessory, photograph the area straight on and from the side. A front-facing image can hide a deep recess or a curved mounting surface. Include a ruler where it helps, but do not assume a photograph replaces a drawing with dimensions. For a frame, the opening and mounting points deserve their own measurements rather than an estimate from the car’s overall appearance.
Read the installation instructions before checkout. Check whether tools, replacement clips, adapters, or longer fasteners are needed and whether those parts are included. A listing photograph showing several accessories does not necessarily mean every piece is supplied. Clarify the contents while a return or different selection is still easy.
Look at the return conditions for customized items. A made-to-order name or graphic may make a visual mistake harder to correct, so verify spelling, orientation, and actual-size layout first. If fit is uncertain, settle it before adding personalization rather than treating a custom order as a trial fitting.
Keep the first delivery simple. Inspect the part before removing protective film or installing it, compare it with the information you saved, and contact the seller about discrepancies. Do not modify the car to make an unexpected product fit. A patient check at this point can save you from enlarging a hole or cutting original trim for an accessory you did not really intend to keep. Save the packaging until the inspection is complete, and photograph any damage before fitting the part. That gives the seller a clear description without confusing transit damage with installation marks.
Check the Finished Car in Ordinary Conditions
Review the change in daylight and at night while the car is stationary. Look from the normal driving position, not only from outside. Check reflections, visible information, controls, and whether any new object becomes distracting when illuminated.
Operate nearby doors, lids, seats, and windows through their usual movement. A part that clears a panel while it is closed may still touch during opening. For a plate frame, check trunk or tailgate clearance and the camera image without assuming that a successful screw installation proves everything else.
After normal use, look for loosening, rattles, trapped dirt, adhesive lifting, or fresh marks at contact points. Stop using an accessory that moves toward the pedals or interferes with a control. Do not try to solve a poor fit by tightening harder or adding random glue.
Take another photograph after you have lived with the change. If the car already feels right, pause. Leaving space untouched is a design choice, not an unfinished job.
Frequently Asked Questions
Can you personalize a car without buying accessories?
Yes. Start with available settings, organization, careful cleaning, and removing unwanted clutter. You may discover that the cabin feels more personal once it fits your routine, even before you change its appearance.
How do you personalize an older car without hiding problems?
Separate repairs from decoration. Address damaged trim, unsafe mounts, corrosion, leaks, and failed lights first. Then choose additions that can be inspected and removed without concealing those areas. Keep the maintenance history with the car.
Is one matching accessory set the easiest option?
It can simplify the visual choice, but each part still needs its own fit and safety check. A set should not persuade you to use an unsuitable steering-wheel cover, seat cover, or floor mat just because the colors match.
What if you change your mind about the style?
A staged plan makes that easier. Keep original parts, record the installation method, and follow the accessory maker’s removal instructions. If removal involves fragile trim, old paint, or unfamiliar wiring, get help rather than turning a small style change into a repair.
Can a personalized frame include a logo or name?
It can, provided you have permission to use the design and the selected frame supports it. Keep the message short, preserve required plate information, and approve the layout at actual size. You do not need to change the official registration plate to add a personal detail around it.