A license plate frame opening should clear the plate information while still retaining the plate securely. That sounds simple, but buyers often receive one “inside size” with no indication of where it was measured. On a frame with a rear channel, clips, tapered walls, or an overlapping front lip, those locations can produce very different numbers.
If you’re preparing an RFQ, don’t ask for opening size as a single unlabeled width and height. Define the plate envelope, the visible opening, the retention geometry, and the installed clearance separately. You’ll get a drawing that can be inspected instead of a number everyone interprets differently.
Opening size is not the same as plate size
The plate size describes the physical metal plate. The frame opening describes the space around or in front of it. A frame may have a rear pocket large enough to accept the plate while its front lip creates a smaller visible opening.
For a common full-size North American plate, the AAMVA standard identifies a nominal 12 × 6 inch plate. That’s a useful starting envelope, not permission to copy one frame opening across every project. Plate rims, artwork, registration stickers, vehicle recesses, and frame retention details still need to be checked.
| Dimension | What it controls | Common mistake |
|---|---|---|
| Plate envelope | The maximum plate width, height, corner radius, and thickness the frame must accept | Using a catalog label instead of an actual drawing or sample |
| Rear seating pocket | Whether the plate can enter and sit flat | Ignoring ribs, clips, or corner interference |
| Visible opening | How much of the plate face remains exposed | Checking only the characters and forgetting state names or stickers |
| Retention overlap | How the frame or clips keep the plate in place | Adding overlap without controlling where it lands |
| Installed clearance | Space around the frame inside the vehicle recess | Approving the frame and plate without the vehicle-side envelope |
Measure the opening at the functional edge
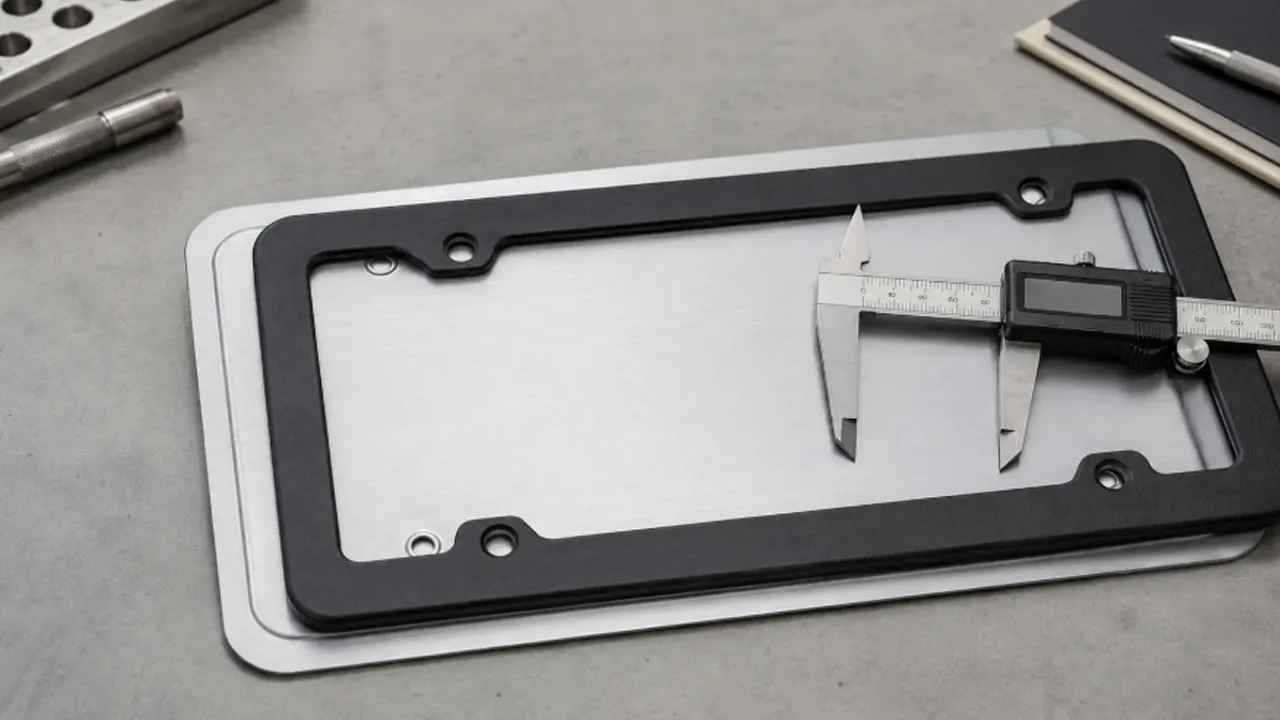
Where should you place the caliper? At the edge that controls fit or visibility. If the plate loads from the rear, measure the narrowest point of the seating pocket as well as the front visible opening. If the opening wall is drafted or rounded, mark the measurement plane on the drawing rather than measuring wherever the tool happens to touch.
- Measure the actual plate width, height, thickness, and corner radius.
- Identify how the plate enters the frame and which features retain it.
- Measure the minimum seating opening and the finished visible opening.
- Overlay the opening on the target plate artwork or a representative issued plate.
- Install the sample on the intended bracket or vehicle recess and check for shift.
That last check matters. A frame may look centered on a workbench but move when screw clearance lets the assembly settle to one side.
Clearance needs a tolerance, not a guess
An opening equal to the nominal plate dimensions can bind when the plate, coating, molding, or frame reaches the unfavorable side of its tolerance. An opening with excessive clearance can expose uneven gaps or let the plate move before the fasteners are tightened.
Set the clearance from the real tolerance stack: maximum plate size, minimum frame opening, coating thickness, molding shrinkage, thermal conditions, and the retention method. Then state whether the drawing dimension is a minimum, maximum, or nominal value. “Fits a US plate” is not an inspection criterion.
Protect the readable area before you add branding
A larger logo panel usually means a smaller visible opening. That tradeoff should be handled on the drawing, not discovered after decoration tooling is complete. Place the state or jurisdiction name, plate number, validation sticker, and any other required information on the review overlay. If your program covers multiple states or plate designs, use the most restrictive verified layout in the target set.
Local rules vary, so an opening cannot be described as universally legal. The practical design goal is simpler: keep required plate information unobstructed in the installed position, then confirm the rules for the markets where the product will be sold.
What to put on the RFQ drawing
- Target country, plate class, and front or rear application
- Plate width, height, thickness, corner radius, and hole locations
- Rear pocket and minimum visible-opening dimensions
- Overlap or clip width at named inspection points
- Outer frame envelope and vehicle-recess clearance
- Material, finish, and decoration build that can affect the geometry
- Datum scheme, tolerance, and approved measurement method
If you don’t yet have a controlled drawing, start with the license plate frame size guide, then compare the actual plate and mounting area. For a new structure, the custom license plate frame page shows the design inputs worth gathering before tooling.
Frequently asked questions
Should the frame opening be larger than the plate?
The seating area normally needs enough clearance for the maximum plate and the frame’s manufacturing tolerance, but the correct allowance depends on the retention structure. Define it from a tolerance stack rather than applying one universal extra dimension.
Is the visible opening the same as the rear pocket?
Not necessarily. A rear pocket may accept the full plate while a front lip overlaps part of its face. Put both dimensions on the drawing.
Can one opening work for every US plate design?
A common full-size plate envelope helps, but printed details and sticker locations differ. Check the visible opening against the plate layouts included in your sales program.
What sample check catches the most problems?
Install the maximum-size plate or a controlled gauge in the finished frame, tighten the intended hardware, and inspect both seating and visibility in the vehicle-side mounting envelope.
Send the geometry, not just the market name
For a useful frame review, share your plate drawing or sample, visible-area requirement, mounting layout, vehicle clearance, material, finish, artwork, and target quantity. That gives the supplier enough information to discuss a workable opening instead of guessing from “US size” or “Euro size.”