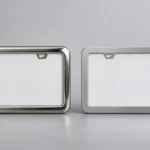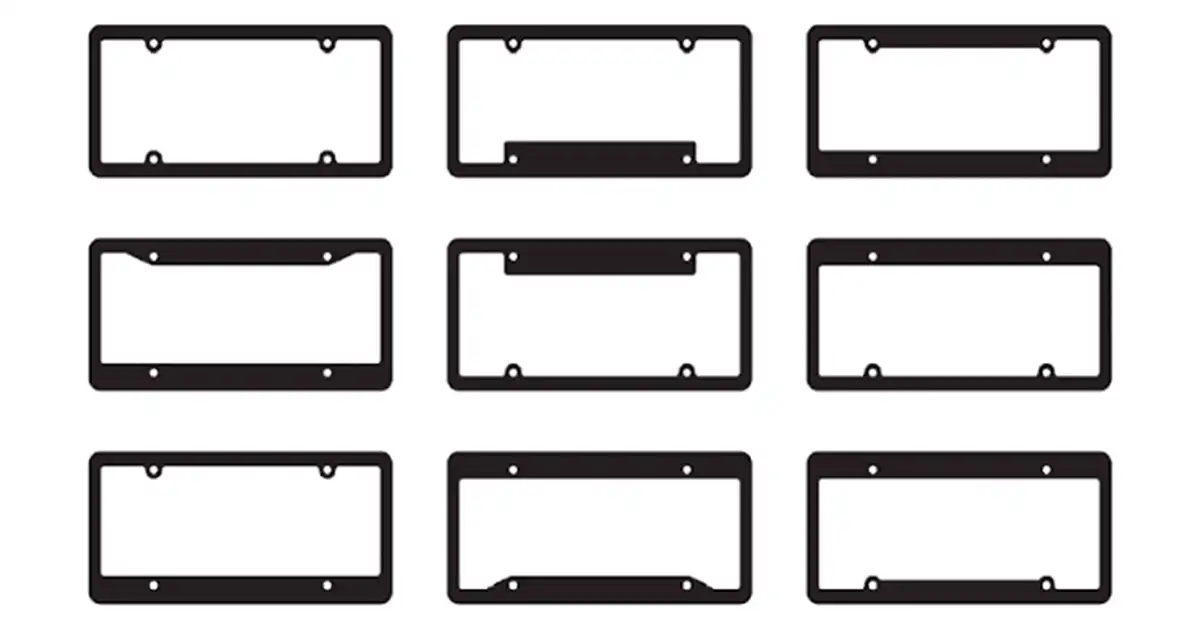
A useful license plate frame template is not just a blank PNG with a logo box. For production, it needs to show where the real plate sits, what must remain visible, where the frame opening ends, where holes and hardware go, and how close artwork can safely run to a curved edge or screw cap.
That’s the difference between an artwork preview and a usable B2B specification. Start with the target plate, then build the frame and logo areas around it. If you start with a generic decorative outline, you can approve a nice-looking file that doesn’t fit the plate, hides important information, or collides with the mounting hardware.
Build the template in five layers
| Layer | What it shows | Why it belongs in the template |
|---|---|---|
| 1. Plate reference | The actual plate outline, issued features, and mounting holes. | It stops the frame from being designed around a generic rectangle rather than the product it must surround. |
| 2. Clear opening | The inner edge of the frame that remains open around the plate. | It controls what the frame can cover and how much room the plate has to sit without pinching or looking uneven. |
| 3. Visible-area boundary | The plate information and features the frame must stay clear of for the intended market. | It turns a vague “safe area” into a visible check on the actual plate. |
| 4. Artwork safe area | The usable logo, text, or decoration zone on the frame face. | It keeps important artwork away from rounded corners, holes, caps, and uncertain edge treatments. |
| 5. Holes and hardware keep-out | Hole centers, slot range, screw-head clearance, washer/spacer area, and any retaining feature. | It makes the installation path visible before the product reaches sampling. |
Keep these layers separately named in the design file, even if the customer only sees the finished frame image. A designer can turn the artwork layer on and off without losing the plate or hole reference. An engineer can update one frame size without rebuilding the whole visual.
Begin with the target plate, not a generic artboard
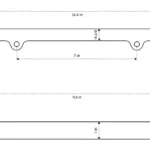
A 12 × 6 in. passenger plate is a useful U.S. starting reference. AAMVA’s current License Plate Standard includes that format in its specialty-plate material and locates the horizontal bolt-hole centers 2.5 in. from the side edges. That supports the familiar 7 in. horizontal spacing found in many U.S. passenger-plate programs.
It is still only a starting reference. The issued plate, its hole pattern, state name, registration features, and the vehicle-side mounting surface decide the final frame drawing. Motorcycle plates, other countries, front brackets, and special plate formats can change the proportions or fixing layout. Use the target plate photo or drawing as the base layer, then compare it with our license plate frame size guide before you lock the frame outline.
Record dimensions from a fixed datum. The upper-left corner of the plate viewed from the front is often easy to communicate. From that point, you can define every hole center, the clear opening, artwork blocks, and keep-out areas without relying on a screenshot or a ruler in a photo.
Copy this license plate frame template into your RFQ
| Template field | What to enter | Why it matters |
|---|---|---|
| Project / drawing revision | Customer name, SKU or project name, revision date, and owner. | Prevents an approved sample from being confused with an earlier artwork proof. |
| Destination market and vehicle type | Country or state where relevant, passenger vehicle or motorcycle, and front/rear position. | Sets the plate and installation context before dimensions are reused. |
| Plate reference | Measured plate size, photo/drawing reference, and which side is shown. | Anchors every other dimension to the actual item. |
| Frame outer size | Overall width and height, plus any corner radius or curved profile. | Controls the visual footprint and must fit the vehicle recess or carrier. |
| Clear opening | Inner width and height, measured from the frame’s opening edge. | Defines the reveal around the plate and supports visibility review. |
| Border widths | Top, bottom, left, and right border dimensions if they differ. | Lets the team see whether a large logo bar reduces the usable opening. |
| Plate-information boundary | Mark text, plate characters, registration features, and other items that need to stay visible for the intended market. | Creates a practical check before the product is sampled or sold. |
| Artwork safe area | Logo/text zone, minimum edge clearance, orientation, and color reference. | Keeps the key message clear of curved edges, holes, caps, and high-risk surface transitions. |
| Bleed / process edge | Any approved overprint or finishing allowance for the chosen decoration method. | Separates a deliberate production allowance from an accidental artwork overrun. |
| Hole pattern | Each hole or slot’s X/Y center from the datum, shape, diameter or slot range. | Removes the ambiguity of a single phrase such as “standard spacing.” |
| Hardware envelope | Screw-head, cap, washer, spacer, insert, or rear-access clearance where known. | Stops a logo, raised detail, or frame ridge from occupying the same space as the mounting hardware. |
| Vehicle-side reference | Mounting photo or drawing, recess shape, bracket, camera/sensor clearance, and access direction. | A frame can align with the plate but still fail on the vehicle. |
| Sample acceptance points | Opening visibility, installed fit, artwork appearance, hardware access, finish reference, and packaging needs. | Turns the template into a sample-review record rather than a decorative concept file. |
Dimension the opening separately from the outer frame
The outside size tells you how much physical space the frame occupies. The opening tells you what the customer will still see on the plate. Those are different decisions, particularly when the top and bottom borders carry a dealer name, a raised logo, or a printed message.
Draw the plate behind the frame at actual scale. Then mark the clear opening on top of it and inspect the result in the same orientation the vehicle will use. If the plate name, registration feature, or an important character approaches the opening edge, revise the border before you add decoration. The license plate frame opening-size resource and border-width guide help you treat those dimensions as separate inputs.
Write hole positions as coordinates, not a label
“Standard holes” is not a production dimension. Put a center mark on every round hole and give its X/Y position from the chosen datum. For slots, show the center of the adjustment range, the slot length and width, and the direction of adjustment. If the frame uses two holes while the plate or holder has four, show which holes are active and which are only part of the reference layer.
Keep the plate hole pattern separate from the vehicle or bracket pattern. A bumper bracket can have a different layout from the plate it supports. That mismatch is where buyers often create a frame that looks right on a desk and becomes difficult to install. Use the comparison of round and slotted mounting holes if the drawing needs controlled adjustment, and check 2-hole versus 4-hole frame layouts before adding extra fixing points.
Safe areas have four different jobs
Plate-information safe area. Reserve the parts of the actual plate that must remain readable or visible in the target market. The AAMVA policy position on obscured plates is a useful industry reminder, but it is not a substitute for checking the rule that applies where the vehicle is registered.
Artwork safe area. Keep important logo details and small type away from the frame edge, corners, hole openings, and visible hardware. The exact margin depends on the frame’s geometry and decoration method, so put it on the approved artwork drawing rather than copying a generic number from an unrelated template.
Hardware keep-out. Mark where screw heads, caps, washers, spacers, retaining tabs, or a release feature will sit. A logo can be technically within the frame face and still be partly hidden once the hardware is assembled.
Process edge or bleed. If the selected decoration method needs an overrun or has a finish transition near an edge, draw that allowance separately. Do not let a printer, artwork designer, and tooling team use the same word “safe area” for three different boundaries.
Turn the file into a sample, not just a proof
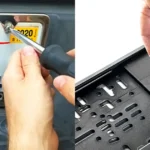
Before you approve volume production, print the drawing at actual size or apply it to a physical reference. Place the target plate behind it. Install the sample with the intended hardware on the target bracket or vehicle surface. That is when you find the problems a clean vector file cannot show: a screw cap covering the last letter of a dealer name, an opening that reveals too little plate, a frame corner that conflicts with a recess, or artwork that looks off-center after mounting.
For a custom program, send the template together with the target plate photo/drawing, vehicle-side mounting information, material and finish direction, artwork file, quantity, packaging expectation, and destination market. The license plate frame customization process shows the project inputs worth preparing, and the custom license plate frames page helps you move from a design concept to an RFQ.
FAQ
Is a license plate frame template the same as a printable blank?
A printable blank may be useful for a visual mockup or DIY decoration. A production template needs more: plate reference, frame opening, hole centers, hardware clearance, visible-area boundaries, and approval information.
Can I use one 12 × 6 in. template for every U.S. vehicle?
No. A 12 × 6 in. passenger plate is a common reference, but the issued plate, vehicle bracket, hole pattern, recess, and destination requirements can differ. Use it as a starting point, then measure the target assembly.
How large should the artwork safe area be?
There is no one safe number for every frame. Set it from the actual frame geometry, logo method, edge treatment, hole/cap positions, and the smallest detail that must remain legible on the approved sample.
What is the minimum information a supplier needs?
Send the market, target plate photo or drawing, frame opening and outer-size intent, hole layout, vehicle-side mounting photo, desired material/finish, logo artwork, quantity, packaging need, and the sample checks you care about. You can start with our contact page when those inputs are ready.