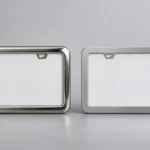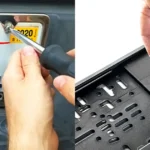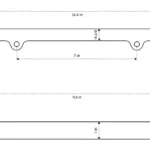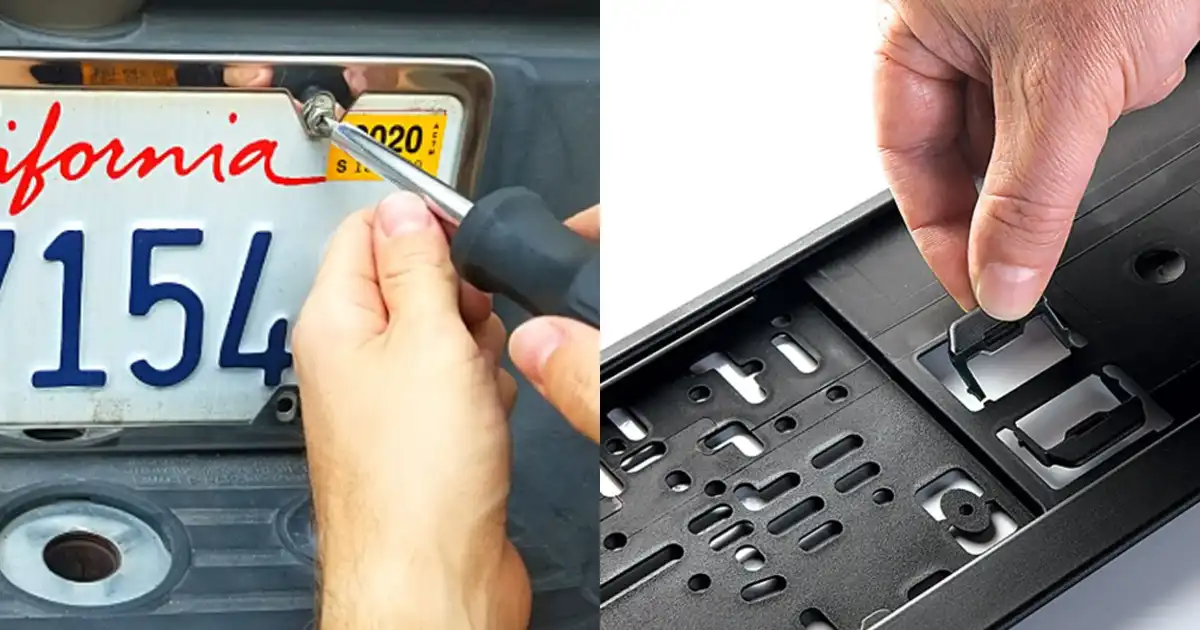
“Screw-mounted” and “clip-on” are often used as if they describe two versions of the same product. They do not. A screw-mounted frame normally relies on separate fasteners to clamp the plate and frame to the vehicle or a bracket. A clip-on product normally relies on molded tabs, snap features, or a carrier structure to retain the plate, sometimes with screws still used to attach the carrier to the vehicle.
That distinction matters when you source a frame. You are not only choosing the visible border. You are choosing how the plate is loaded, how it is serviced, what tolerances the design must absorb, and what the user experiences during installation and removal.
First, define what “clip-on” means in your brief
A decorative frame with small tabs behind the plate is not automatically a full clip-on holder. Those tabs may only keep the plate located while screws perform the real vehicle-side retention. A true clip-on or cassette-style system may have a base fixed to the vehicle and a front frame or latch that captures the plate through molded features.
Ask for an assembly drawing or sample sequence that answers four things: What attaches to the vehicle? What retains the plate? Which part is intended to be removed during service? And which features take load after installation? If the seller cannot show that sequence, the label “clip-on” is not enough for a purchasing decision.
Where each system tends to fit best
| Selection factor | Screw-mounted frame | Clip-on or carrier system |
|---|---|---|
| Product concept | Often a direct, familiar frame-and-hardware assembly. | Often a multi-part retention system with a base, tabs, latch, or front bezel. |
| Vehicle-side dependency | Depends heavily on usable holes, inserts, threads, hardware access, and stack thickness. | The base still needs a compatible vehicle-side interface; the clip only changes plate retention. |
| Service experience | Removal usually involves the intended hardware. | Can simplify plate changes when the latch geometry, plate thickness, and access are designed for it. |
| Design risk | Mismatch in screw type, length, thread engagement, or clearance can create a weak or awkward assembly. | Incorrect snap geometry or an uncontrolled plate thickness can create high assembly force, poor retention, or difficult removal. |
| Best proof before launch | Installed sample with the target vehicle/bracket and final hardware stack. | Installed sample plus repeated latch/removal review with the approved plate and intended service method. |
Screw-mounted systems: simple on paper, specific in the stack
A screw-mounted frame can be a clean fit for programs that already know the target plate and mounting points. It gives you a defined hardware path, and the same basic architecture can support different frame materials and visual treatments. The trade-off is that the hardware stack becomes part of the product specification: screw head, cap, washer, spacer, plate thickness, frame thickness, vehicle insert, and rear access all influence the result.
Do not approve screws simply because they pass through the frame holes. They must also work with the vehicle-side interface and leave the frame seated without unwanted distortion. A loose or uneven assembly can show up later as movement, noise, paint contact, or a customer-service issue. The license plate frame screw-size resource helps separate screw selection from the frame’s visible design, while our article on preventing loose frame screws explains why the entire stack deserves review.
Clip-on systems: the latch is an engineered feature
A clip-on design can make a plate-change experience neater and may reduce the number of separate pieces visible at the front. It is not a shortcut around engineering. A snap feature has to deflect during assembly, engage the mating geometry, and remain functional through the intended use. Its behavior changes with material choice, wall thickness, root radius, hook shape, tool tolerance, plate thickness, and the direction of applied force.
Covestro’s snap-fit design guide is a useful reminder that assembly force, permissible deflection, and strain must be considered together. For a license plate holder, that means you should not ask only whether the plate “clicks in.” Ask how the sample installs with the approved plate, how it comes out, whether the latch visibly stresses or whitens, and whether the plate remains seated after normal handling. A clip that feels good on one sample may not behave the same with a different plate thickness or a revised resin.
Clip-on selection also overlaps with frame thickness and plate thickness. A change in either can alter the engagement condition. If your product is a clip-based design, review our plate thickness for clip-on license plate frames article before freezing the geometry.
Choose by the system, not by a generic “easier” label
Choose a screw-mounted system when the vehicle interface is already known, a direct hardware assembly suits the program, and the team is prepared to specify the hardware stack. Choose a clip-on system when the product concept needs a carrier/latch architecture and you can control the mating plate dimensions, snap geometry, and service sequence through sampling.
Neither answer is automatically more secure, faster to install, quieter, or more durable. Those outcomes belong to a particular design and test setup. A high-quality screw-mounted assembly can be excellent; a well-developed clip-on carrier can be excellent. The wrong choice is the one made without a plate sample, vehicle-side data, and a defined service expectation.
A practical sample plan for either mounting method
- Confirm the physical inputs. Use the actual plate or controlled plate drawing, target vehicle/bracket, and intended hardware.
- Install the full assembly. Do not evaluate a screw frame only on a bench, or a clip-on front without its base.
- Check the plate opening. Verify that the frame or bezel does not hide information that must remain visible in the destination market.
- Run the intended service action. Tighten and remove the hardware as a user would, or latch and release the clip using the intended access point.
- Record the result. Note plate version, vehicle/bracket, hardware, sample revision, observer comments, and any feature that needs adjustment before production approval.
Hole layout still matters whichever system you choose. The round versus slotted mounting-hole comparison is relevant when the base or decorative frame needs to accommodate controlled variation. For a new custom program, provide the plate and installation data with your RFQ request rather than relying on the word “universal.”
FAQ
Does a clip-on license plate frame use no screws?
Not necessarily. A clip-on system may use clips to retain the plate while screws secure the base or carrier to the vehicle. Check the full assembly path.
Is a screw-mounted frame more secure?
Security depends on the specific frame, hardware, vehicle interface, and installation. A screw-mounted design is not automatically more secure simply because it has screws, and a clip-on design is not automatically weak because it uses latches.
Can I convert a screw-mounted frame to clip-on?
Usually that is a product-architecture change, not a simple hardware swap. The frame may need a base, retention features, controlled tolerances, and new sampling around the target plate and vehicle interface.
What should be tested before a volume order?
Test the approved sample with the real plate, target vehicle or bracket, intended hardware, normal installation/removal method, and the destination-market visibility review. Record the exact tested configuration.