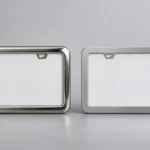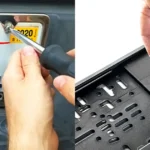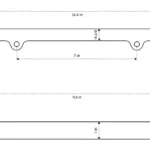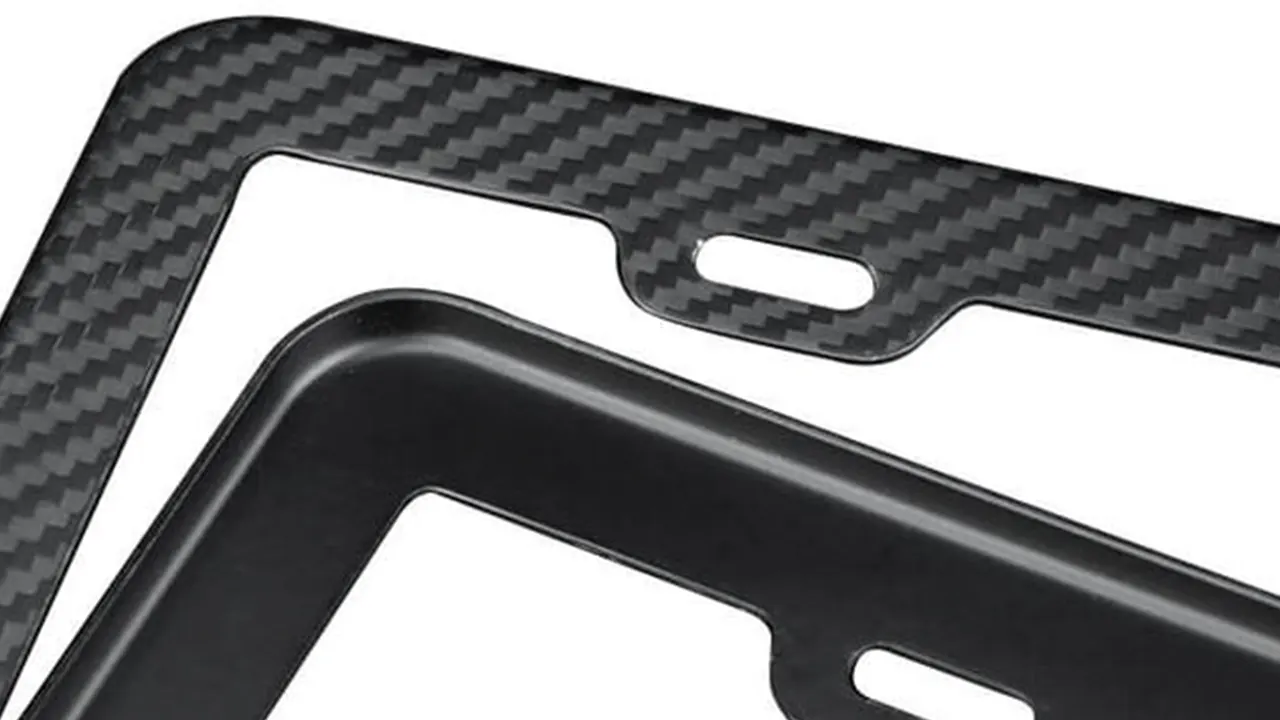
Choose a textured plastic frame when you want lower visual glare, a molded surface character, and less obvious light scuffing. Choose a smooth surface when fine printed artwork, sharp molded detail, easy wipe-down, or a polished appearance matters more. Neither finish determines weather resistance by itself; resin, colorant, process, coating, geometry, and exposure still matter.
The practical difference is larger than “matte or shiny”
| Decision factor | Textured surface | Smooth surface |
| Appearance | Diffuses reflections; can look more integrated with molded vehicle trim | Shows cleaner reflections and stronger surface contrast |
| Minor marks | May make light scuffs and small cosmetic variation less noticeable | Fine scratches, sink, flow lines, or fingerprints can be easier to see |
| Printed graphics | Deep texture can break fine lines and reduce apparent edge sharpness | Usually gives a more predictable base for small text and detailed graphics |
| Cleaning | Valleys can hold wax, dirt, and dried residue | Easier to wipe, though glossy surfaces show streaks |
| Tooling | Texture specification and draft must be planned together | Higher polish can demand tighter cosmetic process control |
The resin does not reproduce every tool finish in the same way. Color, fillers, wall thickness, flow direction, gate location, and molding settings can change the visible result. Approve actual molded plaques or production-equivalent samples rather than choosing from the words “textured” and “smooth.”
Specify the surface, don’t describe it from memory
Terms such as fine grain, leather grain, pebble, satin, smooth, and high gloss are subjective. Put a recognized finish callout, an approved texture plaque, or a controlled physical sample in the specification. Also mark exactly which faces receive it. The front show surface, inner opening, sidewalls, logo pad, and back ribs may need different treatments.
Texture depth affects mold release on sidewalls, so the tool may need more draft. Adding a deep texture after geometry is frozen can create ejection problems or force a tool revision. The existing license plate frame mold design guide covers the connection between part geometry and tooling decisions.
Plan branding around the finish
A textured frame can carry bold graphics well, but very fine lettering or thin color boundaries may look uneven across peaks and valleys. A common solution is to reserve a smooth logo pad within a textured frame. That keeps the overall molded character while giving printing or a badge a controlled surface.
For direct printing, test adhesion and visual resolution on the exact resin, texture, pretreatment, ink system, and curing conditions. The UV versus screen printing comparison helps narrow the decoration process, but a process name alone does not prove adhesion or outdoor life.
Molded raised lettering is a different design route. Check draft, corner radii, fill, and the way the texture terminates around the letters. Texture crowding a small logo can make the artwork look less crisp even when the dimensions are within tolerance.
Think about cleaning and retail handling
Smooth black surfaces can look dramatic in a product photo and then show fingerprints under retail lighting. Texture reduces that mirror-like effect, but deep grain can trap polishing compound, road film, or dried wax. Ask the sample team to clean the frame using the care method intended for end users, then inspect it after drying.
Packaging still matters. Parts rubbing face-to-face can polish the high points of a texture or scratch a smooth finish. Define the contact-free areas, interleaf material, sleeve, and carton orientation. Don’t assume a textured surface can be bulk-packed without cosmetic damage.
Use a controlled approval sequence
- Select the exact resin and color for the model; “plastic” is not a material specification.
- Choose the finish standard or approve a numbered texture plaque.
- Mark textured, smooth, and non-cosmetic zones on the drawing.
- Review draft, parting line, gate, ejector, and weld-line locations with the toolmaker.
- Apply the real logo process to molded samples.
- Inspect parts in agreed lighting and viewing distance.
- Run cleaning, handling, packaging, and any required exposure tests on production-equivalent samples.
If resin selection is still open, the ABS versus PP frame comparison explains why resin family and finished construction should be decided together.
What to include in your RFQ
Send the plate format, frame drawing, target resin, color reference, named texture or physical plaque, smooth branding zones, artwork, expected order quantity, cosmetic inspection method, packaging format, and test requirements. Use the project inquiry page to share the starting specification and sample goals.
Frequently asked questions
Does texture make a plastic frame more scratch-resistant?
Not automatically. Texture can make light marks less visible, but actual damage resistance depends on the resin, additives, coating, texture, contact pressure, and test method.
Is a smooth frame always glossy?
No. Smoothness describes surface topography; gloss also depends on tool polish, resin, color, and processing. Specify both the finish reference and the visual target.
Can part of one frame be textured and part smooth?
Yes, if the tool design and masking boundaries support it. A smooth logo pad inside a textured front face is often easier to decorate consistently.