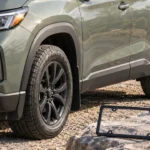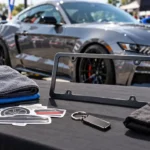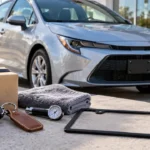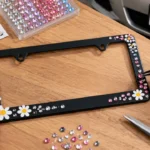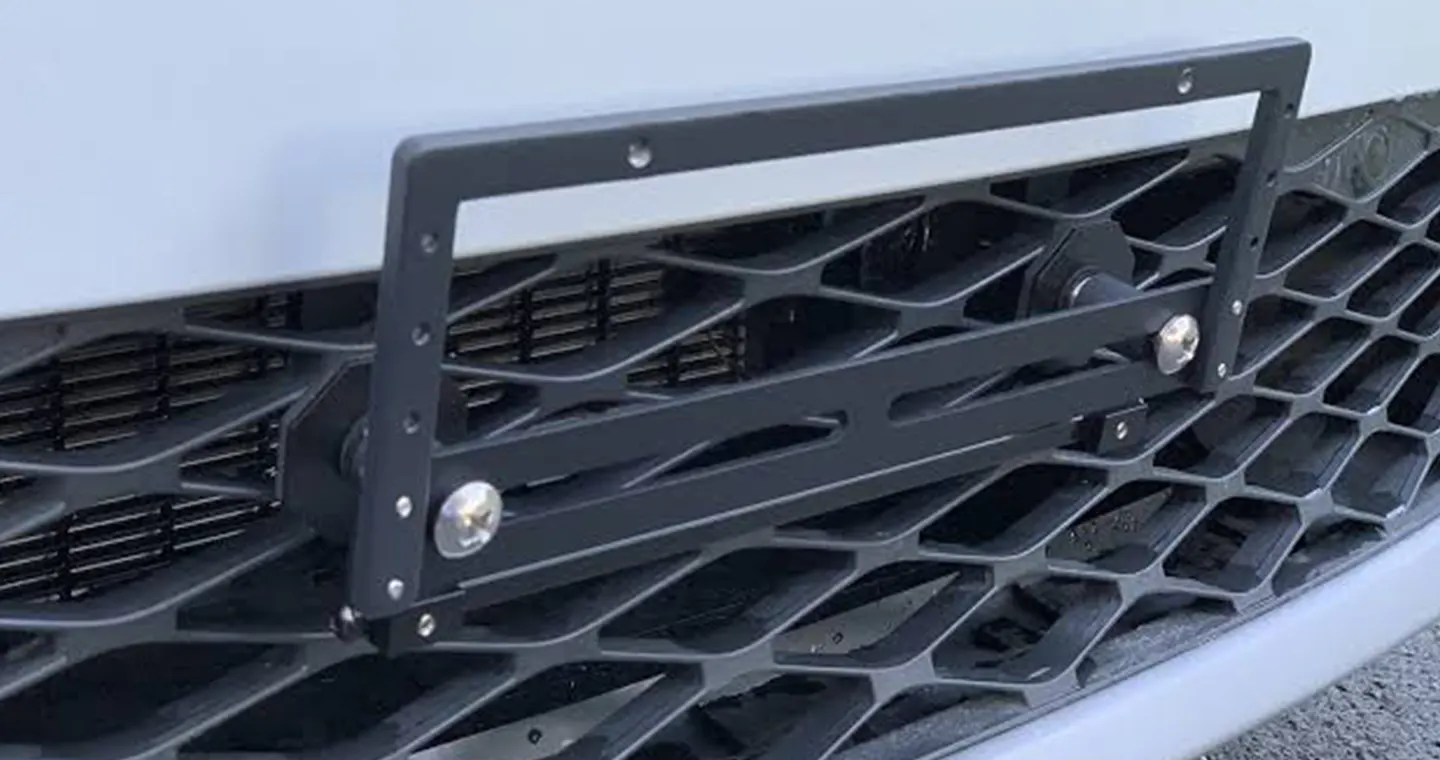
You can install a front license plate without drilling the painted bumper by using existing factory holes, a tow-hook mount, a vehicle-specific grille bracket, a clamp-on mount, or an adhesive system approved for the bumper surface. The best option is the one designed for your exact vehicle—not the one with the strongest-looking product photo.
Before buying anything, inspect the bumper from the front and underneath. Many cars that appear to have a smooth bumper already hide threaded inserts, molded dimples, a removable tow-eye cover, or attachment points behind the grille.
No drilling does not mean no fitment check. A poorly placed bracket can interfere with parking sensors, radar, cameras, active grille shutters, cooling airflow, or a tow-eye cover needed for recovery.
Choose the Mount Before You Reach for the Tools
| No-drill method | Best fit | Main advantage | Watch for |
|---|---|---|---|
| Factory mounting points | Vehicles with inserts, dimples, or an OEM bracket location | Centered, stable, and closest to the intended design | Trim may hide the attachment points; use the specified fasteners |
| Tow-hook mount | Vehicles with a threaded front recovery socket | No bumper holes and usually easy to remove | Off-center appearance, plate rotation, sensor interference, car-wash clearance |
| Vehicle-specific grille bracket | Open grilles with a tested model-specific clamp pattern | Centered position without touching painted bumper skin | Cooling openings, active shutters, brittle grille slats |
| Clamp-on lower-grille mount | Strong horizontal grille members or slats approved for a clamp | Adjustable and often reversible | Universal clamps can concentrate load or loosen on weak plastic |
| Adhesive mount | Smooth, compatible surfaces and a manufacturer-approved system | Clean appearance with no mechanical holes | Surface chemistry, temperature, cure time, paint or wrap damage, heat and weather |
Magnetic mounts deserve caution. Many modern bumper covers are plastic, so a magnet will not grip the visible surface. A hidden steel crash bar may sit too far behind the plastic, and an improvised magnet can slide, scratch the finish, or detach at speed. Use a magnetic system only when its manufacturer has validated the exact mounting location and retention method.
Option 1: Use Existing Factory Mounting Points
This is usually the cleanest solution. Check the owner’s manual, the underside of the bumper, and the area behind a removable trim cap. Some cars have threaded inserts; others have molded guide dimples intended for a dealer-installed bracket. If the bracket can attach to existing threads or clips, you do not need to pierce the painted outer surface.
Installation sequence
- Clean the mounting area so dirt does not get trapped under the bracket.
- Hold the model-specific bracket in place and confirm which side faces up.
- Start every fastener by hand. If a screw binds immediately, stop; the thread or fastener may be wrong.
- Tighten the bracket evenly without crushing plastic tabs or inserts.
- Attach the plate and check that it sits level and does not flex against the bumper.
Factory threads are not always the same across trim levels or markets. Match thread diameter, pitch, and usable length before tightening.
Option 2: Install a Tow-Hook License Plate Mount
A tow-hook mount threads into the vehicle’s front recovery socket. It works well on many European and performance cars that have a removable tow-eye cover but no visible plate holes.
- Find the front tow-eye cover and confirm the socket is intended for the accessory.
- Remove the cover with a plastic trim tool or the method in the owner’s manual.
- Thread the mount’s post in by hand until it seats correctly. Do not use a cross-threaded post as a lever.
- Set the plate carrier’s height and angle before final tightening.
- Turn the steering wheel, inspect nearby sensors, and check the view from any forward camera.
- Fit the plate, then verify that the assembly cannot rotate under light hand pressure.
The recovery socket is designed around a tow eye, but that does not make every aftermarket plate post correct. Thread depth, shoulder shape, material, and offset must match the vehicle. A long post that bottoms incorrectly can damage threads; a short one may not hold enough engagement.
Option 3: Use a Vehicle-Specific Grille Bracket
A grille bracket can place the plate near the centerline without touching the painted bumper. Look for a kit made for the exact model year and grille design. “Universal” often means the buyer must decide whether the grille can safely carry the load.
- Identify structural grille members rather than thin decorative mesh.
- Position the backing pieces so they spread the load across more than one small tab.
- Keep hardware clear of radiator fins, wiring, shutters, and sensor modules behind the grille.
- Tighten alternating sides until the mount is stable. Stop before the grille bends.
- Check that the plate does not vibrate into the painted bumper.
Do not block a large part of the lower air intake. A plate may look small compared with the grille, but it can still sit directly in a high-flow area selected by the vehicle’s cooling design.
Option 4: Use a Clamp-On Lower-Grille Mount
Clamp-on systems use padded jaws, hooks, or backing plates around a grille bar. They can be practical when no dedicated bracket exists, but the contact points matter more than the product label.
Choose broad, padded contact surfaces and stainless or corrosion-resistant hardware. Avoid clamping onto thin louvers, active shutter blades, gloss-black trim, or parts that move. After the first drive, look for witness marks, shifting, or a change in plate angle. Recheck again after rough roads or an automatic car wash.
Zip ties are useful for temporary workshop positioning, not as a normal road installation. Sunlight, cold, vibration, and sharp grille edges can weaken them without much warning.
Option 5: Use an Adhesive Mount—Only on a Compatible Surface
An adhesive plate base can look clean, but it is the least forgiving method when surface preparation is wrong. Adhesive performance depends on the tape or bonding system, bumper material, paint or wrap, texture, temperature during installation, cure time, load, and weather exposure.
- Confirm that the mount manufacturer approves the bumper material and finish.
- Wash and dry the area. Use only the surface cleaner specified by the adhesive manufacturer.
- Test the position with low-tack masking tape and measure from fixed body lines.
- Apply the mount at the stated temperature and press for the specified time.
- Respect the full cure period before highway driving, rain, or washing.
Do not assume that stronger tape is automatically safer. A very aggressive adhesive may damage fresh paint, clear coat, paint-protection film, vinyl wrap, or a soft-touch textured surface when removed. When finish damage would be costly, ask the vehicle or film manufacturer before bonding anything.
How the Bracket, Plate, and Frame Should Stack
A common order is:
Vehicle → mounting bracket → license plate → optional frame → washers → screws.
Some designs place the plate inside a two-piece holder, so follow the bracket instructions when they differ. The important points are that the plate sits flat, the fasteners engage securely without bottoming out, and the optional frame does not cover required information.
Most U.S. passenger plates use a nominal 12 × 6 inch format, but hole placement, plate embossing, bracket shape, and border clearance still matter. Check the license plate and frame size guide before ordering parts, then compare the visible area with the frame opening dimensions.
A Safe Installation Checklist
Whichever method you choose, use the same final inspection:
- The plate is on the front exterior, upright, and reasonably centered where state rules require it.
- Letters, numbers, state name, stickers, and other required marks remain visible.
- The bracket does not touch radar panels, cameras, parking sensors, active shutters, or fragile trim.
- The plate does not block a tow-eye opening you may need in an emergency unless the mount can be removed with the vehicle’s normal tool kit.
- Fasteners are snug and evenly loaded; none are cross-threaded or visibly deforming the bracket.
- The assembly does not rattle, swing, rotate, or contact paint when pressed lightly at each corner.
- You can remove the plate later without tearing paint, wrap, or grille parts.
After 25 to 50 miles, inspect it again. If the mount uses multiple adjustable joints, mark their starting positions with a small removable reference mark so movement is easy to spot.
Common Problems and Better Fixes
The plate rotates on a tow-hook mount
Check whether the post is fully seated and whether the carrier uses a separate anti-rotation fastener. Do not keep tightening against plastic trim. If the joint design cannot resist rotation, use a better-matched mount.
The grille flexes when the plate moves
Move the bracket to a stronger grille member or use a larger backing plate that spreads the load. If the grille remains flexible, choose another mounting method rather than tightening harder.
The frame makes the screws too short
Measure the combined thickness of the bracket, plate, frame, washers, and any spacers. Use the correct thread with enough engagement, but not so much length that the screw bottoms out or reaches components behind the bracket. The detailed frame installation steps show how to test the stack before final tightening.
The mount becomes loose after driving
Find the moving joint instead of tightening every screw at random. A missing washer, mismatched thread, flexible bracket, or bottomed-out screw will not be fixed by extra torque. Use the checks in preventing loose license plate screws to isolate the cause.
Frequently Asked Questions
What is the best no-drill front license plate mount?
Factory mounting points are usually the first choice. If none exist, use a model-specific tow-hook or grille mount that clears the vehicle’s sensors and airflow. There is no universal best mount for every bumper.
Will a tow-hook plate mount damage the car?
A correctly matched and installed mount should not damage the socket, but an incorrect thread, excessive leverage, poor shoulder fit, or contact with painted trim can cause problems. Verify the kit against the exact model and year.
Can I use double-sided tape for a license plate?
Only when the complete mounting system is designed for exterior vehicle use and approved for the bumper surface. Generic tape strength alone does not establish legal security, paint compatibility, or long-term weather resistance.
Do no-drill brackets work with license plate frames?
Often, yes. Confirm that the added frame thickness still leaves enough screw engagement and that the frame does not cover required plate information. Slim frames usually create fewer visibility conflicts.
Should I remove the mount before an automatic car wash?
Follow the mount and car-wash instructions. Off-center tow-hook mounts and projecting brackets can be more exposed to brushes and guide equipment. If removal is recommended, keep the correct tool in the vehicle.